Category Archives: 3Dprinting

Holiday Ornament Design Challenge

Over the Holiday break, I challenged my family to design some ornaments for our tree. So far, only Mason (17 year old son) rose to the challenge, and I think he did very well indeed.

He did the designs in OpenSCAD, and at first hardcoded all the measurements until I encouraged him to make the designs fully parametric. This piece was designed to accept a light (from the string lights on the tree) in the bottom. Printed in Natural PLA with about 15% fill, giving it a kindof stripey, plaid texture.

This was printed without support on the Ultimaker 3. The very inside top is a little stringy, but hardly noticeable, and very easy to clean up.

The second design was really the first one he did, and isn’t fully parametric. You’ll have to scale it in your slicer, but it turned out pretty nice.

I printed it in white, thinking it might be fun to use a sharpie to color in the facets. This was printed with the PVA support.
I also printed it in transparent ColorFabb XT. I had a problem with the wipe tower, so the top was a bit messed up with mixed PVA and XT, which broke off, but a light fit into it, and I think it looks nice.

I encourage you to sit down and design with your family this holiday. You can get the sources for these at: http://github.com/osbock/HolidayOrnaments. Feel free to do some Pull requests to add your own designs!

For younger, or less mathematically inclined designers, I recommend Tinkercad.com, or I’m sure there are cool Ipad apps out there. Let me know if you have a favorite!

Lasercast Activate!

I recently got my thumb reconstructed (due to Osteo arthritis). And my new cast felt like it could use an upgrade. Laser! I figure it will be a good addition to my mad scientist costume for Halloween. Chinese laser pointer from ebay or aliexpress (don’t remember, I have a drawer full of laser modules). Adafruit powerboost 500 basic (If I’d had the full one, it could charge too, but this is what I had lying around).  I designed a very basic platform in OpenSCAD, and stuck the board down with mounting tape. The enable switch is soldered directly to the board (I cut off one of the terminals.)

Both the laser platform and the activation button are mounted with Velcro (the cast is coming off…) the button is superglued to the disk that holds the velcro dot.

If you want to make it, it’s very likely that your laser module will be sized differently so edit the openSCAD file to  fit.

3D printed circle the same size as a velcro dot

Parametric Littlebits Mounting system

TL;DR version: I got to borrow the littlebits synth kit, and created a parametric version of the mounting board. The source files are available on github: https://github.com/osbock/Baldwisdom/tree/master/LittleBitsMounts

The Newton Free Library applied for and got a cool LSTA ( Federal Library Services and Technology Act) Grant to do a bunch of STEM related programs, and I have the honor of doing a bunch of coding and robotics workshops there over the next few months.

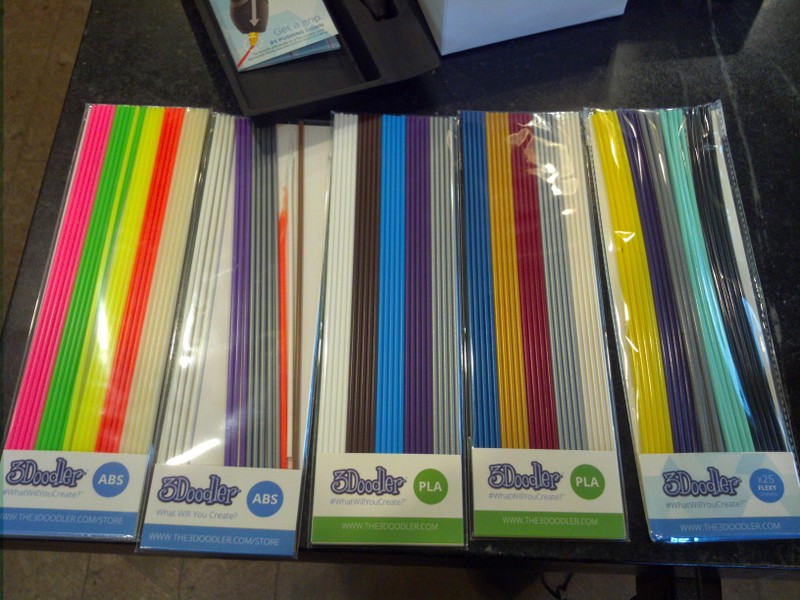
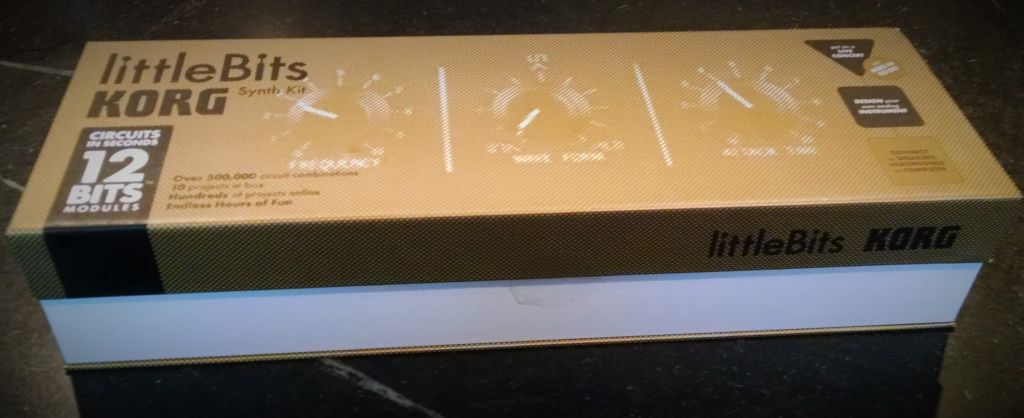
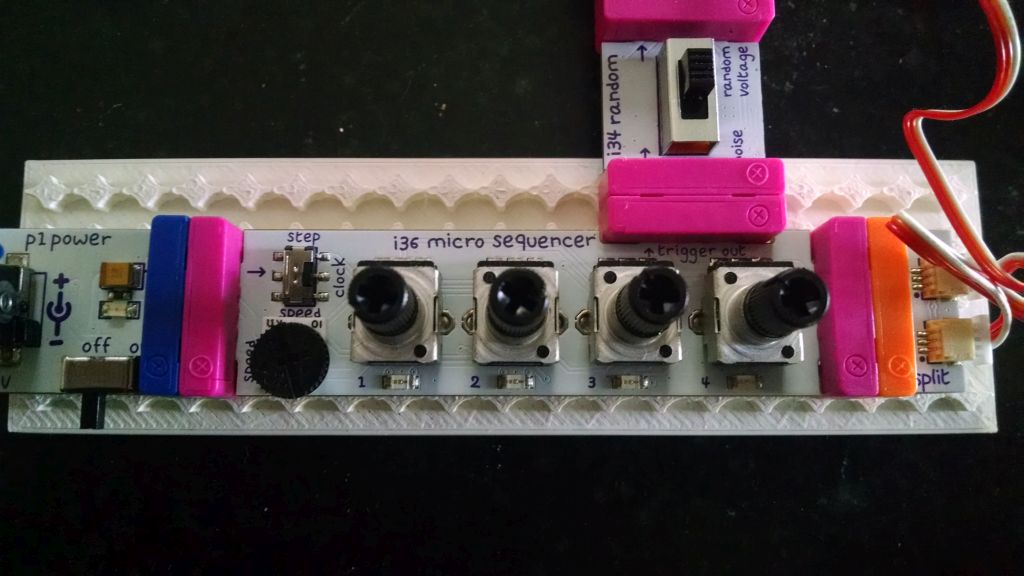
They got a bunch of cool new equipment to run these programs including Finch Robots, Arduinos (Sparkfun Inventors Kits), a KIBO robot, and … wait for it… a bunch of Littlebits sets. NFL Assitant Director Jill Grabowski was kind enough to lend me the coolest littlebits set: The Korg Synth kit.

korgset


If you aren’t familiar, they are modular electronics blocks that snap together with magnets. Unlike earlier “electronics construction sets” these are pretty foolproof, well thought out modules instead of just individual components. As Founder Ayah Bdeir says ,

AT LITTLEBITS, WE ARE ON A MISSION TO DEMOCRATIZE HARDWARE BY EMPOWERING EVERYONE TO CREATE INVENTIONS, LARGE AND SMALL, WITH OUR PLATFORM OF EASY-TO-USE ELECTRONIC BUILDING BLOCKS.

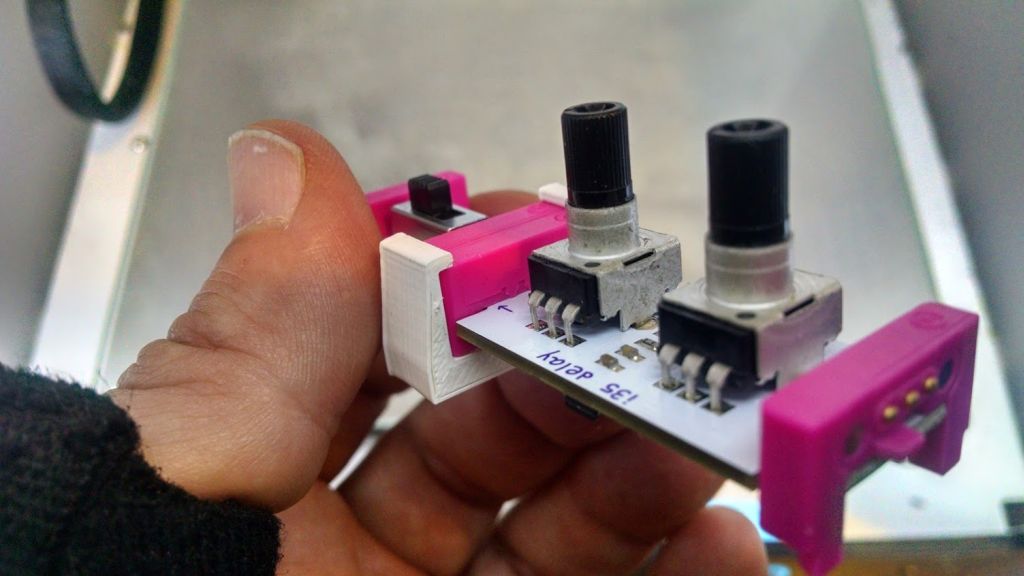
Unfortunately the thing that makes Littlebits easy is also it’s greatest weakness: The magnetic connection system.

Especially when making something you have to manipulate (like a musical instrument), they tend to come apart, you lose power, etc.

Now some of the other (more expensive) sets come with mounting plates (that you can also buy separately. I didn’t have one though, but I do have a laser cutter and a 3D printer. How hard could it be? Well, the devil is in the details.

First I looked to see if it was already done. Thingiverse (I know boo….) has a few designs, including some by littlebits themselves, mostly specific component mounts.

Rex Brodie posted this cool clip that fastens adjacent modules together.
clips

It works pretty well (very solid) but it was difficult to put the two bits in without pulling and pushing and putting a bit of strain on the boards. (Especially scary when the ‘bits are on loan).

I tried just measuring and cutting holes with my laser, or a simple model with Open SCAD but I just couldn’t get the spacing quite right.

Thingiverse user Kris Kitchen had posted this design:
littlebitsgrid

which I printed and actually worked quite well. Only problem was, it was an STL (Surface Tessellation Layer) file, and thus not easily modifiable. I wanted wider, arbitrary shapes, etc!

I could however pull Kris’s design into OpenSCAD, and do a trick to measure the “holes” and spacing.

This little bit of code:
[code]
projection(cut=false)difference(){
translate([0,0,-41])import(“LittlbitsGridthin.stl”);
translate([0,0,-10])cube([250,40,10]);
}
[/code]
cuts off the bottom so the holes will show and projects the outline in 2D.

projection

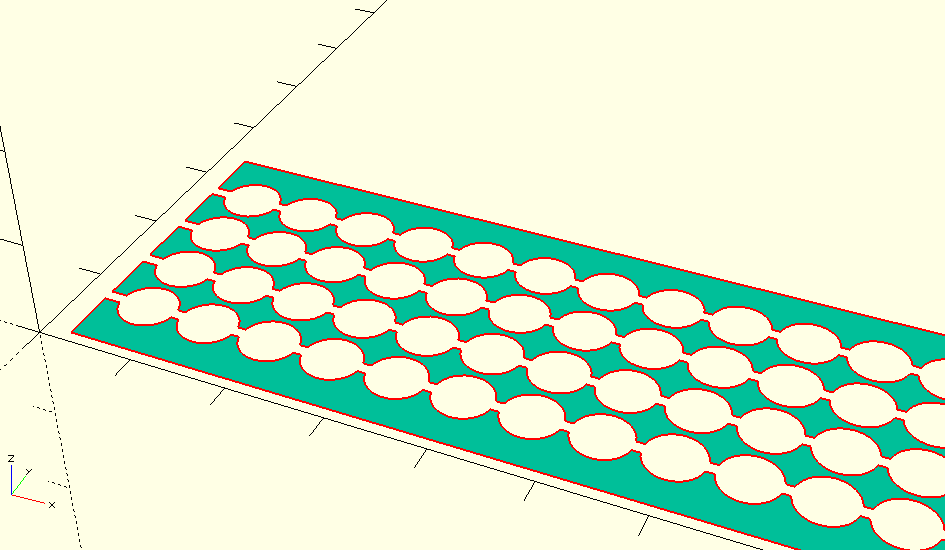
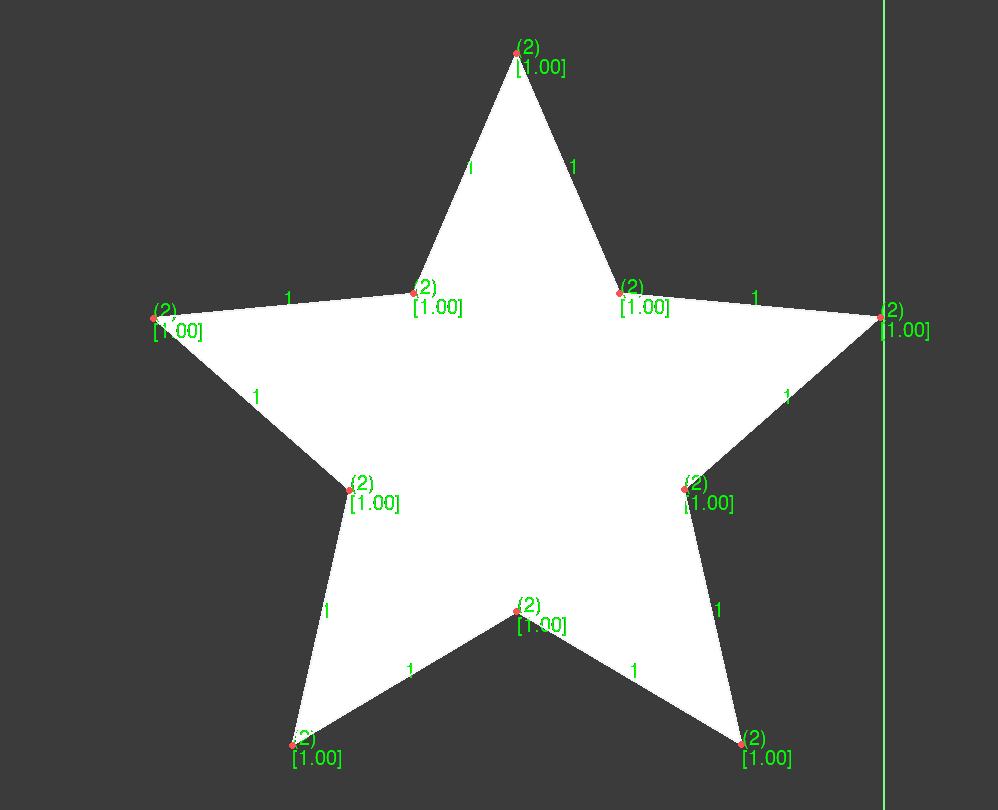
I then exported this as a DXF file, and used inkscape to make measurements.

If I haven’t lost you by now, the part you are waiting for, the measurements (which I couldn’t find anywhere after much googling!)

  • Holes: 6 mm diameter
  • Spacing (edge to edge or center to center): 6.63mm
  • spacing is also 10.5% of hole
  • 1.294mm knockout line

The percentage bit is important (I calculated it, 6.63/6) if you are designing in inkscape because that is how you do a grid of evenly spaced objects.

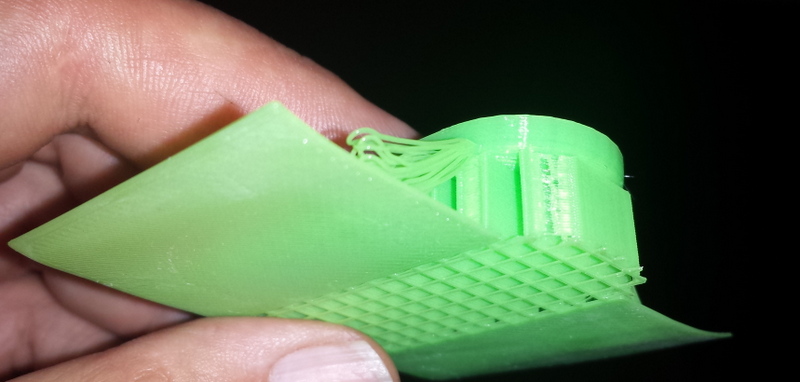
I made a couple of attempts at a laser cut version, but it was very brittle, and I didn’t take into account the laser’s kerf (width of cut)

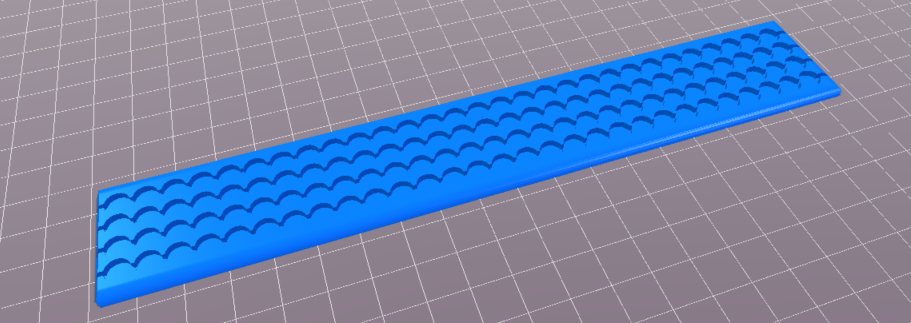
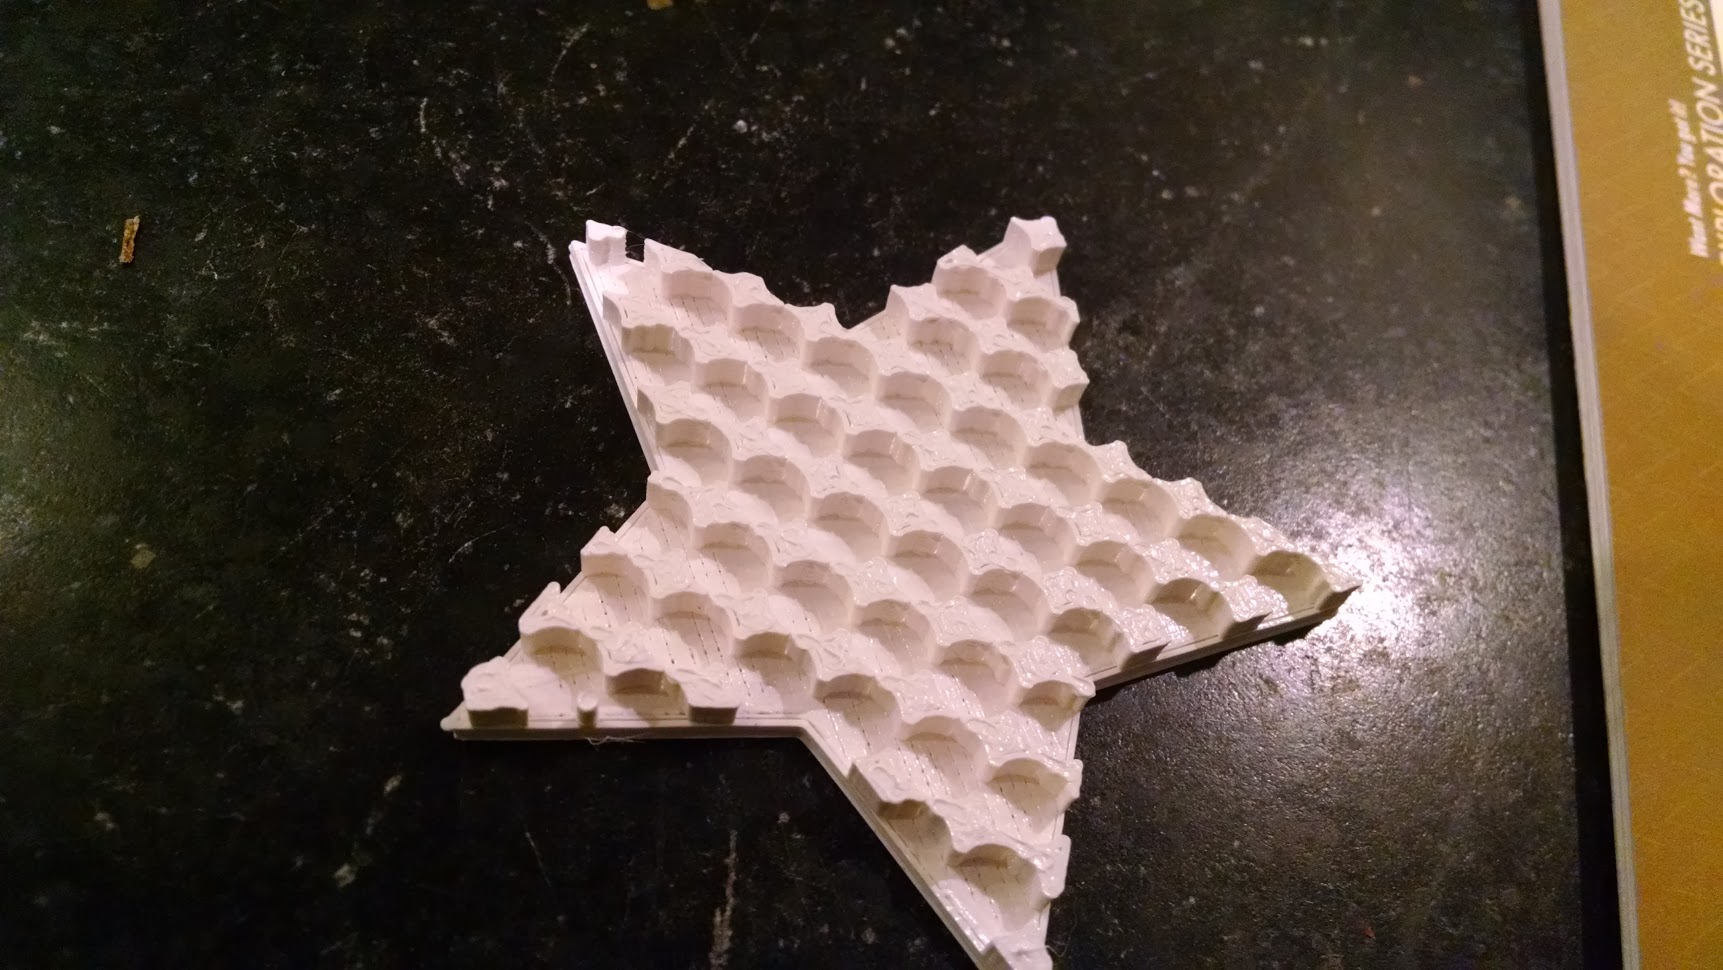
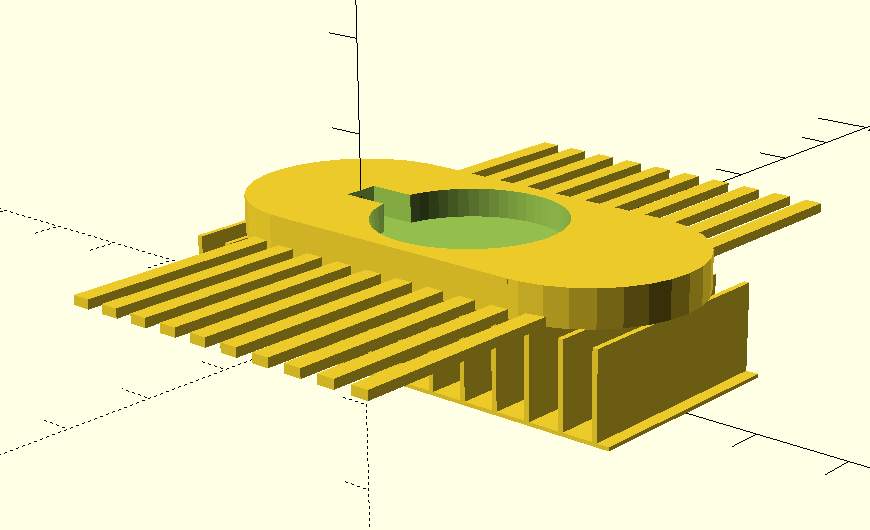
The 3D printed version came out pretty well, but the holes were a bit too small, so I enlarged them by .2mm (.1mm on the radius). and it worked perfectly!
littlebitsmounted

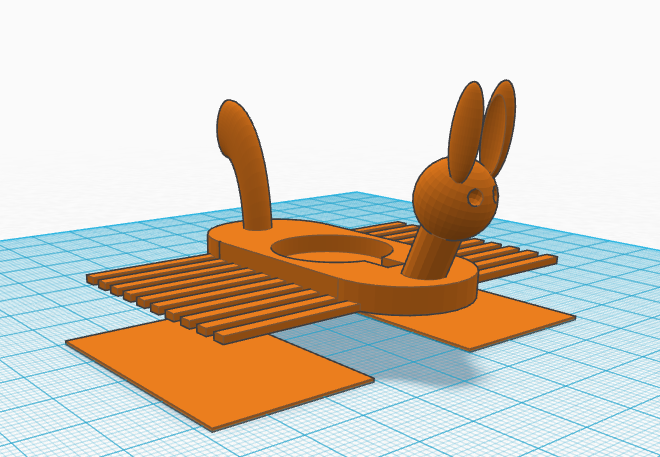
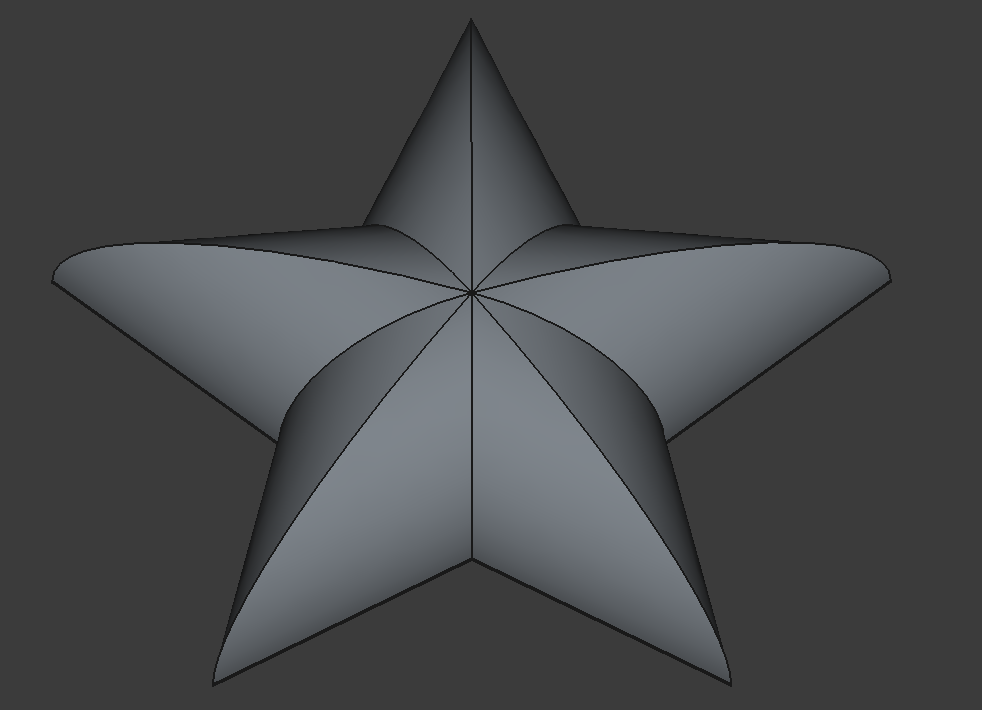
Now we can make mounting boards in any shape!
star

The source files are available on github: https://github.com/osbock/Baldwisdom/tree/master/LittleBitsMounts

Is 3D printing good for anything practical?

When I took my Mini Cooper in for it’s annual state safety and emissions inspection it failed because one of the tail lights was out, and the license plate lights were, well really out. One of the lenses had long ago fell out, and the other bulb was dead.

20151119_175622When I looked on line, the cost for a couple of lenses and the bulbs was greater than a complete unit with LEDs (never replace again!) so I ordered a pair from ebay. They came, but the contacts wouldn’t make connection with the bulb holders.

I communicated with the Ebay seller, and they were great, offering me a refund or to find the right bulbs for me, but I was impatient.

I decided to make a bulb proxy and solder wires between it and the new LED fixtures. It only took 10 minutes to whip something up in OpenSCAD:

scadimage

It didn’t have to be pretty it just had to fit and hold the contacts in place. For contacts I wrapped the ends in copper tape, and soldered wires between those and the light fixtures.

20151119_173502

Note, that it’s easier to solder to any delicate surface if you use liquid flux.

The result was fantastic (pay no attention to the filth on my car….)

20151119_182044

Hopefully it will pass inspection tomorrow. Of course if I didn’t have all this stuff at home, it totally wouldn’t have made sense to do this, but I do, and it was actually a fairly fun and easy project.


Interactive Wall at the Duxbury Free Library

I was Maker in Residence at the Duxbury Free Library in August, where I worked with Teens and some adults to create an Interactive wall for display at the Library.

I met Teen Librarian Ellen Snoeyenobs at the first Make a Makerspace conference at the Artisan’s asylum several years ago, and we’ve been collaborating on bringing more maker activities to her library over the last 2 years. She has an excellent blog reflecting on their successes, failures, and tips : http://librarymakerspace.blogspot.com/

She has her own excellent video here:

Lessons learned

  • Something for everyone. There are art activities for those who won’t go near tech stuff, and plenty of wiring and coding for the techies. Girls, boys, adults alike found something to do.
  • Drawing on skills learned in the past helps to get things done. We did one session on Arduino at the beginning, but in the end, those who already had Arduino experience ending up contributing most in that area.
  • Include a variety of activities. Kids who liked 3D printing and design did various bits to glue on, and use, including a spider that goes up and down. The 3Doodler was used a lot to add decorative elements, as well as enhance some of the 3D prints. And of course, Arduino brought it all to life.
  • Think Off the Wall. Ellen was originally inspired by an interactive wall she saw at MIT. The library, however, wasn’t too keen to be hacking into their existing walls. Ellen came up with the idea of a portable partition, and I helped select one (made of poly-carbonate) that we could drill. It had the additional advantage of being semi transparent, so we could mount our fireflies (addressable LEDs,) behind the wall.
  • Surprise learning. There were all sorts of bonus learnings, including how to scale a drawing up using a grid!

Technology

  • The library had previously received a grant that enabled them to buy a bunch of Spark Fun Inventors kits. We used velcro to attach the Redboards and their attached breadboards to the back of the wall.
  • We used a PIR motion sensor to trigger the bird moving, and cheap Chinese HC-SR04 ultrasound distance sensor to light up the peacock’s tail as you waked closer.
  • WS-2812 LED strips provided bling for both the peacock’s tail and the fireflies.
  • Birdsong was provided by a Sparkfun MP3 Shield
  • Movement was done with micro servos, and one continuous rotation servo from parallax.
  • The shifty eyed fox was implemented by a great design from Dampboot on Thingiverse

Come see it!

Our Grand Reveal of the Arduino Interactive Garden Wall will take place on
Thursday, September 10th at 4 p.m. on the Upper Level of the Duxbury Free Library.

We’re hoping some of the Teens as well as adults who had a hand in making it will talk about the experience.

Droobots: 3D printed Bristlebots

3D printing Bristlebots gives you lots of creative options, and here’s a new way to create the bristles, or legs of the bots. More details follows the video, and the source code is at: https://github.com/osbock/droobots

Mark Peeters, came up with a clever idea for making lacy  fibrous flowers with a 3D printer, by taking advantage of FDM’s greatest weakness: the need to support overhanging structures.

drooloop-group1 kopieTurning them over in my hand, I had the insight that they could be perfect bristles! I fired up OpenSCAD and started designing a simple bot:

The trick is that you have to let them droop down, so you have to have something in the center to hold it up, and have the legs be unsupported. I designed in support material for the body.

droobot-scad

It’s tricky if you make the support walls to thin, the slicer may ignore them. Too thick and it’s harder to remove. This version works fairly well, but is a little too heavy for my taste.


I use Cura, and I was thinking about how to use it’s native support which is very thin and easy to remove. There is an option for printing support material only when there is an overhang  on the baseplate. I put thin (.4mm) rectangles under the legs, but not under the body:

droobot-needs-support
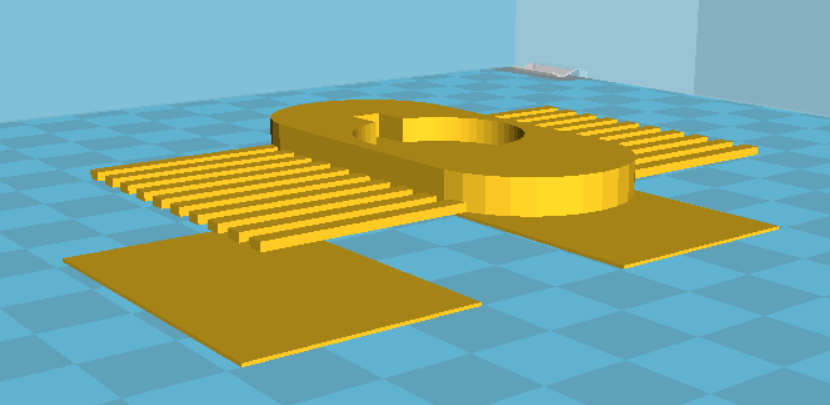
This works out quite nicely, and gives a speedier print.

cura-suportThe other thing that’s helpful is to turn off the fan during the leg creation. You can either use the “Tweak at Z” plugin, if you use Cura, or edit the Gcode.  I located the layer where the legs started and  inserted an M107 (stop fan) command, and then when it was on a layer above, add M106 S255 (fan full on)

After printing, I use a hot air gun to soften the legs to press them down more to a right angle. This give a more energetic movement than the splayed legs right off the printer.

You can also experiment with trimming them with scissors.

Last but not least, I imported the basic STL into tinkercad, and added a head and tail for a little more pizzazz!

tinkered-droobpt


3Doodler 2.0 First impressions

IMG_20150425_181802While it’s true that I love geeky new toys, I’m not typically an early adopter, preferring to wait until the bugs are worked out. Several of my neighbors got the first generation 3Doodler, and since it first came out, there have been many imitators. I backed the 3Doodler 2.0 kickstarter, and it arrived when I was away visiting family.

Impressions

It was a little annoying that it came via DHL with signature required. I managed to circumvent that via their website though, and it was nice to know ahead of time that I had a package coming.

IMG_20150428_081610The new pen is Much Much sleeker and very pleasant to hold. I don’t have much experience with the first edition, but my impression was that it was clunky and it’s plastic case made me hesitate about spending $100 for an educational toy. The new design was a good part of what pushed me over the edge, and the metal case feels much more professional, and the mechanics seem to work really well. It comes with a little screwdriver to adjust the temperature, as well as a wrench to remove the nozzle and a cool spring thing to push through any unextruded plastic when changing colors.

Patience!

My 14 year old daughter initially almost threw it across the room in frustration. I think it was mainly a matter of expectations, as it does take a little while (after heating up) for a newly loaded strand to reach the nozzle. I also initially thought parchment paper (being heat resistant) would be good to doodle on, but it was a terrible choice as the plastic wouldn’t stick to it.

Doodling surface

We tried several other things, and eventually hit upon several good surfaces. It’s important not to doodle on a really cold surface (as our stone countertops are this time of the year in Boston) as the plastic shrinks quickly and comes unstuck. Some scrap acrylic worked really well, as did plain paper.

Once we had things humming along, Charlotte tried again and instantly did the cute baby dragon in the photo above. While it’s not a fast process, its quite meditative.

 3D vs 2D construction and materials

IMG_20150425_181857

It comes with a nice variety of materials, 2 packs of PLA, 2 Packs of ABS and one pack of flexible filament. If you want to doodle in the air and make 3D objects in place, your only choice really is ABS as it hardens quickly. It would probably also benefit from a desk fan to speed up the process. You can do some vertical stuff with PLA by doodling upside down and let gravity hold things straight for you.

Another option is to doodle 2 dimensional parts and then tack them together with the pen. 3Doodler has a number of fun templates on their website that you can print out, doodle over then peel off and tack together. I did their classic Eiffel Tower.

IMG_20150428_081539

The first thing you’ll notice is that if you want precision, and a clean aesthetic, you should just get yourself a 3D printer. That said the drippy organic look has it’s own charm.

The second thing you’ll notice is that I made it from Pink PLA, and there certainly wasn’t enough of one color in the packs to do the whole thing. I’m fortunate to have a 3D printer that uses the same diameter (3mm) filament, so I cut some lengths of PLA. Because filament comes on a spool, the radius of the segments turned out to be a problem, causing it to not feed well. Holding the curvey segments over the stove burner (probably not recommended, a hair dryer would be a better choice). and rolling them straight on the counter made quite usable sticks that fed perfectly. There are two tools which are handy (and not included). One is a pair of tweezers to safely remove plastic from the outside of the nozzle,  and a pair of cutters to trim the melty part off the end of a filament you’ve backed out when changing colors.  They recommend you trim the end when reusing filament, but I managed to get the original sticks to feed in fine with little melty blobs on the end, but YMMV.

Accessories

I was already exceeding my budget to buy the pen, so I didn’t opt for any of the accessories, though I was sorely tempted. They offer a nozzle pack (including cool ribbony flat nozzles) and a battery pack for portable doodling. There’s also a foot pedal, whIch would relieve some of the stress of pushing the button (but I got pretty good at freehanding in the continuous extrusion mode…)

One other really cool thing they did for their kickstarter was to offer education packs that gave a good price with a generous helping of accessories for educational institutions.

Conclusion

I think the 3Doodler 2.0 is a well engineered and fun gadget. I’m planning on getting together with my neighbors and we’ll compare with the first version, as well as get more kid reaction, but in general I think it’s a great creativity inspiring tool.