About a week ago, Sparkfun posted a great prank in their weekly new product video. As April 1 was coming up, and I thought the kids would enjoy it, I ordered the bits that I didn’t have, and managed to pull it off. Sparkfun didn’t give many details, so I thought I’d share my implementation.First here’s a video showing my wife getting pranked. She was a super good sport, (even not minding posting a video of her in her bathrobe!)
NOTE: Someone on google+ pointed out that at 8 amps, these horns could seriously heat up the li-po, and a hot li-po is not a good thing (fires/explosions!) so do this at your own risk. I only pulse the horns for 1 second at a time (twice per activation) so the battery never gets hot, but if you had a programming error, and it was stuck on, look out! Another good reason for the cutout switch and testing without the horns connected.
[youtube]http://www.youtube.com/watch?v=Hn6xDEUDoMw[/youtube]
Here’s what you’ll need for this prank:
- Arduino
- Accelerometer: I used this one from ModernDevices
- Digitally controlled relay. I used the same one they used in the Sparkfun prank
- The Horns!
- A (nearly) 12V lightweight battery. Sparkfun has this nice 1500 MAH 11.1 LIPO for a good price
- A compatible charger. Sparkfun recommends the IMAX B6 This can also be found on Amazon
- Wires, connectors, a good way to connect all the parts together
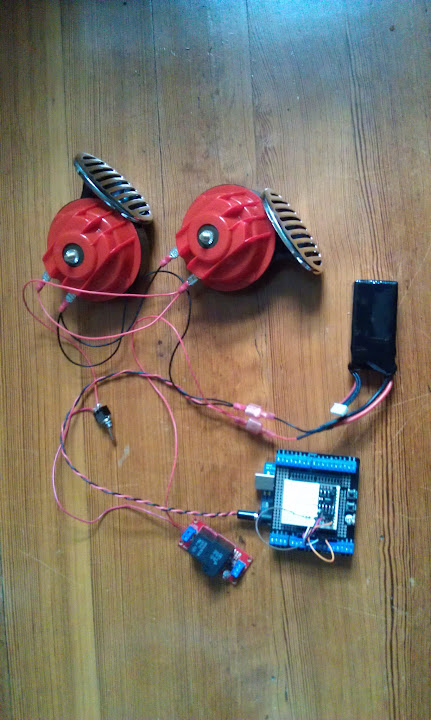
Here I wired the battery to power the Arduino, one leg of power went directly to both horns, and the other switched through the relay. I also put a toggle switch inline with the power to the horns so I could shut off the horns for testing (The relay has an led and also clicks, so you can tell if it’s operating).
I had a proto-screw-shield on hand which was convenient for hooking up both the accelerometer and connecting to the relays.
Here it’s almost all hooked up. The relay connections are made to the analog side of the arduino to simplify wire routing. (Both 5V ground and io pins together.)
I use the button and LED on the protoshield to arm the device and indicate it’s status.
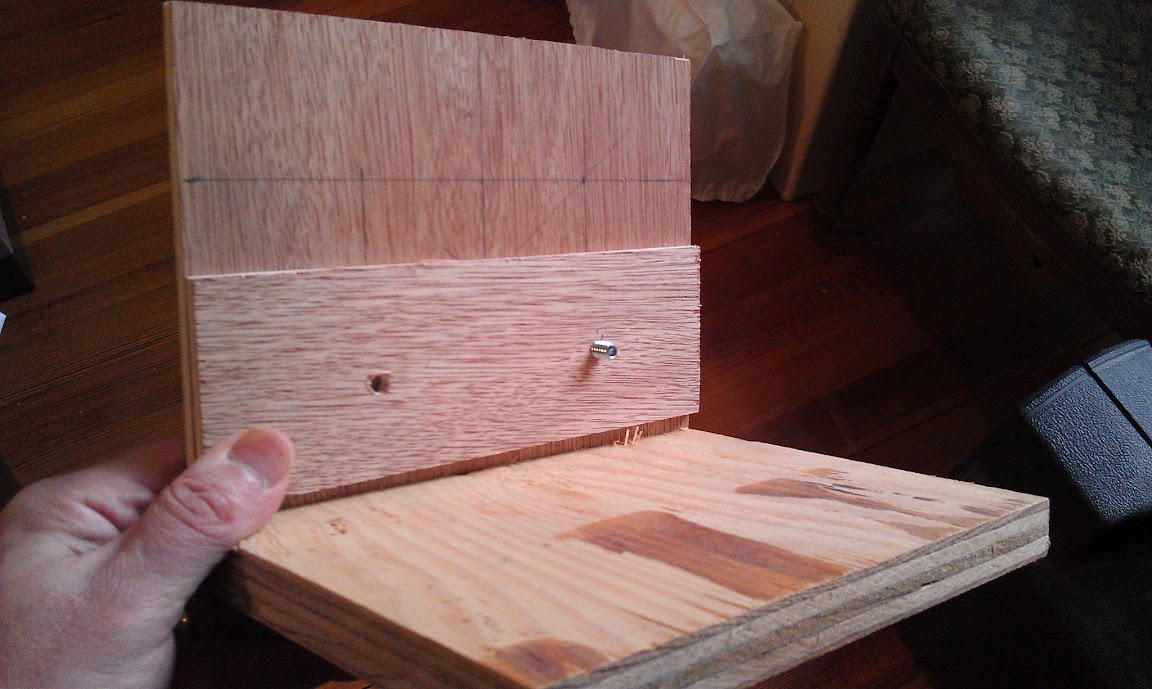
The bolts on the horns were too short to go through 1/4 ” plywood, so I used the supplied mounting plates to offset mount the horns.
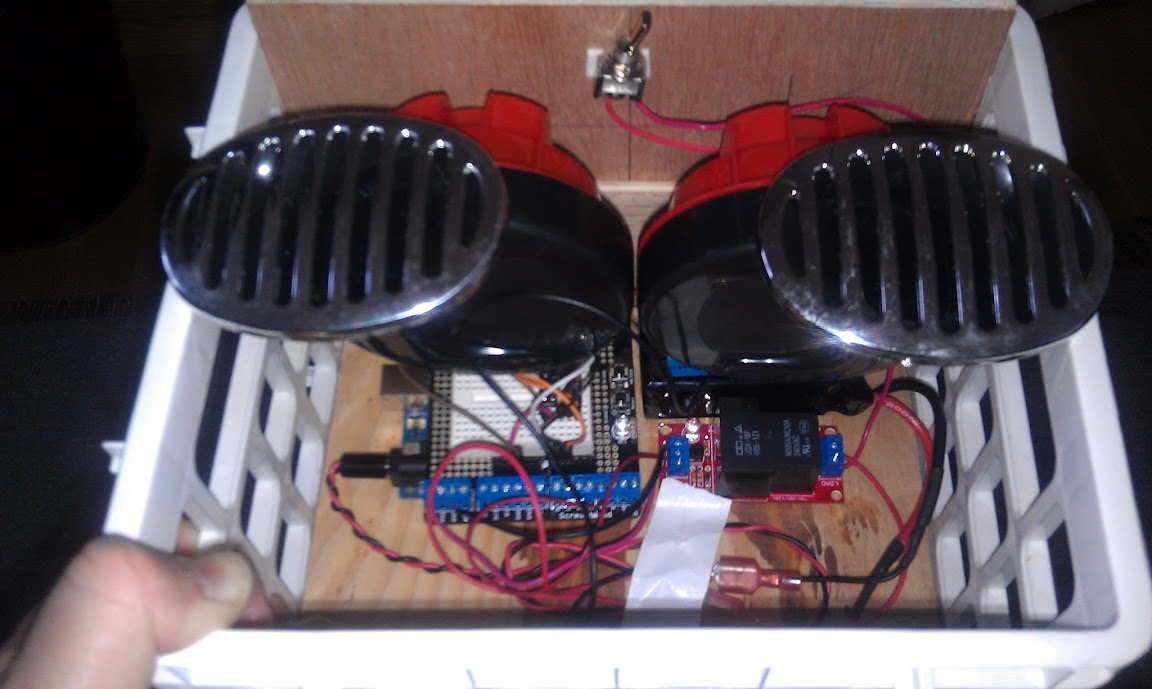
Here it is all put together. Here’s the Arduino sketch, but I recommend you try to program this yourself!


