Does the world need another connected thermostat?
When my thermostat went on the blink last winter, I looked at Nest, and Ecobee, and the other me-too thermostats, and I decided I would rather build my own.
- If Nest goes out of business (or even more likely, Google decides to go a different direction), all that cool connected functionality pffft!
- If I want to control it just inside my house, I don’t really have that option.
- Some of the connected thermostats also offer remote sensors, behavior learning, etc. but they are expensive, and you have no control.
- I have a two wire system. While some of the connected thermostats do power stealing (Nest), I wanted more powering options.
- I’ve been playing with ESP32’s and I’ve found them powerful and cheap!
Prototyping
Most home hvac systems run on 24VAC. When I moved in to my house, it had one of those classic round bun thermostats that tilt a mercury switch with a bimetallic spiral. More modern systems have an additional C wire for power (and separate fan and cool wire). This meant that I would be powering the thermostat externally. A little googling and I found this info on thermostat wiring:
- https://xtronics.com/wiki/Thermostat_signals_and_wiring.html
- https://www.ecobee.com/2014/01/the-problem-with-power-stealing/
- https://thesmartcave.com/thermostat-c-wire-common/
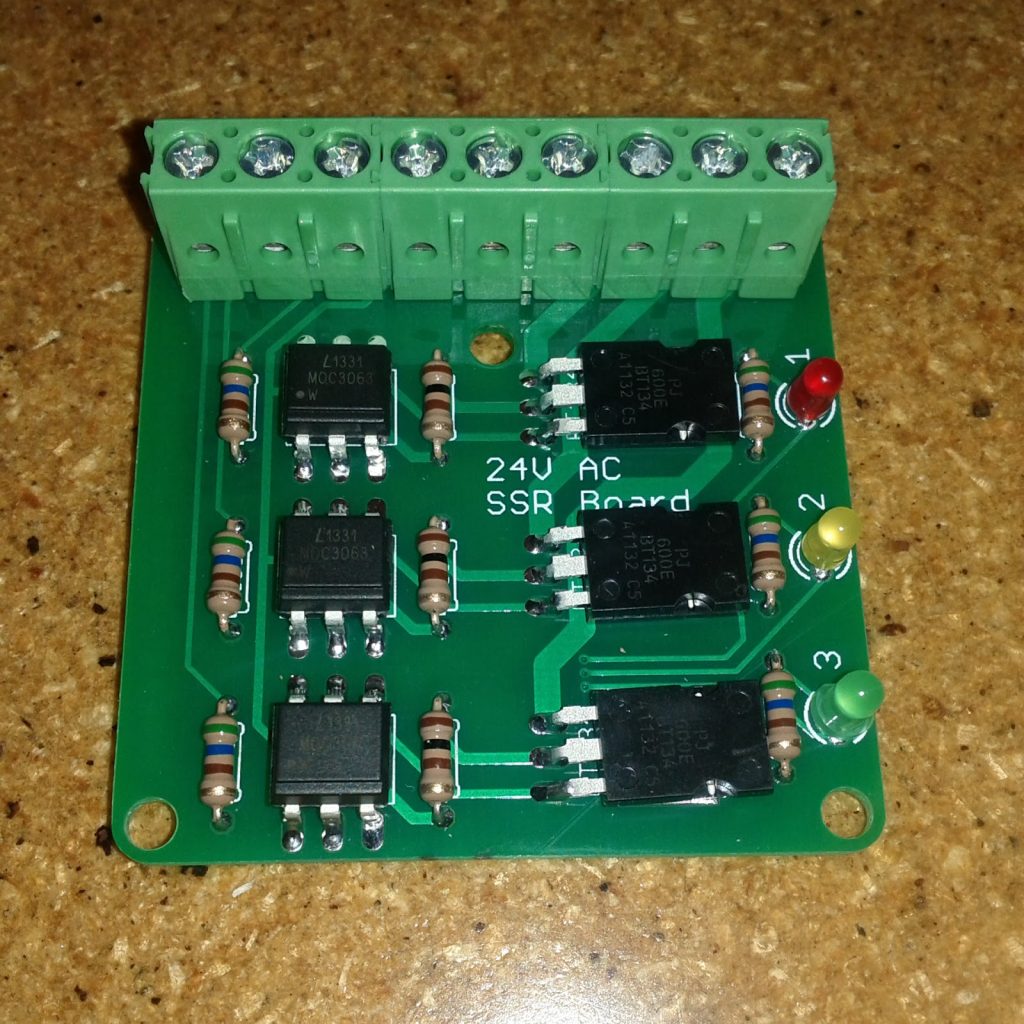
I found a triac board offered by another maker and open source enthusiast:
http://makeatronics.blogspot.com/2013/06/24v-ac-solid-state-relay-board.html

It features three triac channels with Opto-isolated inputs. The control signals seem to work at 5V or 3.3V.
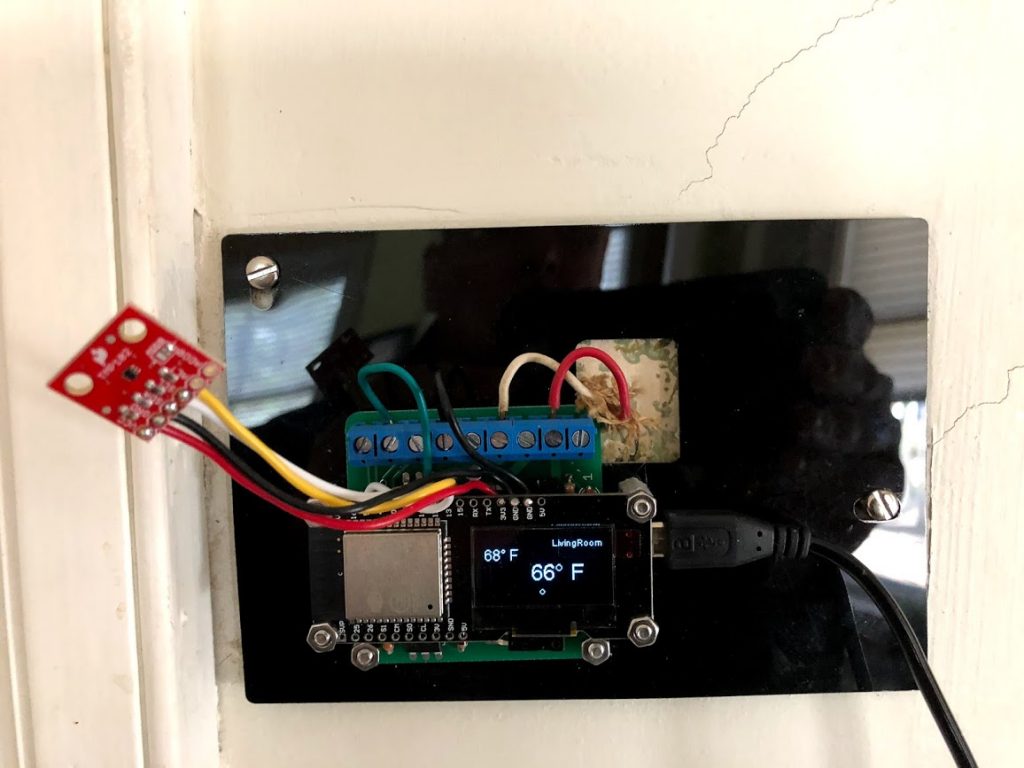
For the controller I found a dev board with an ESP32 module, SiLabs usb controller, and a small monochrome OLED display. It’s sold as Wemos Lolin, and it has a Wemos-like logo on the back. it’s actually a clone of a D-Duino-32 by Travis Lin.

I mounted it on top of the triac board, with a laser cut plate to mount the same as my existing thermostat.
I used a Sparkfun TMP102 as the temperature sensor. I floated it to keep it off the cold wall. Figured I’d mount it in a case later. It worked great! The next installment will cover the PCB design and debugging. The code and the EDA files are at: https://github.com/wyolum/wyostat