Ok, If you only come here for electronics, and 3D printing, look away, but my love of making also extends to food, especially if it’s preparation involves science-y gadgets and biological processes. I’m a big fan of fermentation, and while I no longer brew beer, I regularly make fermented pickles, hot sauce, sauerkraut and …. Yogurt!
I’m known amongst my friends as a Sous Vide Evangelist, spreading the word of the best kitchen gadget ever: The Immersion circulator. I’ve cooked lots in it but it took a while for me to realize that it would be great for short term culturing of fermented foods. Yogurt is soo easy to make, and you can chose your favorite milk. I personally use High Lawn Farms Jersey Cow, Whole milk. High in protein, fat and deliciousness!
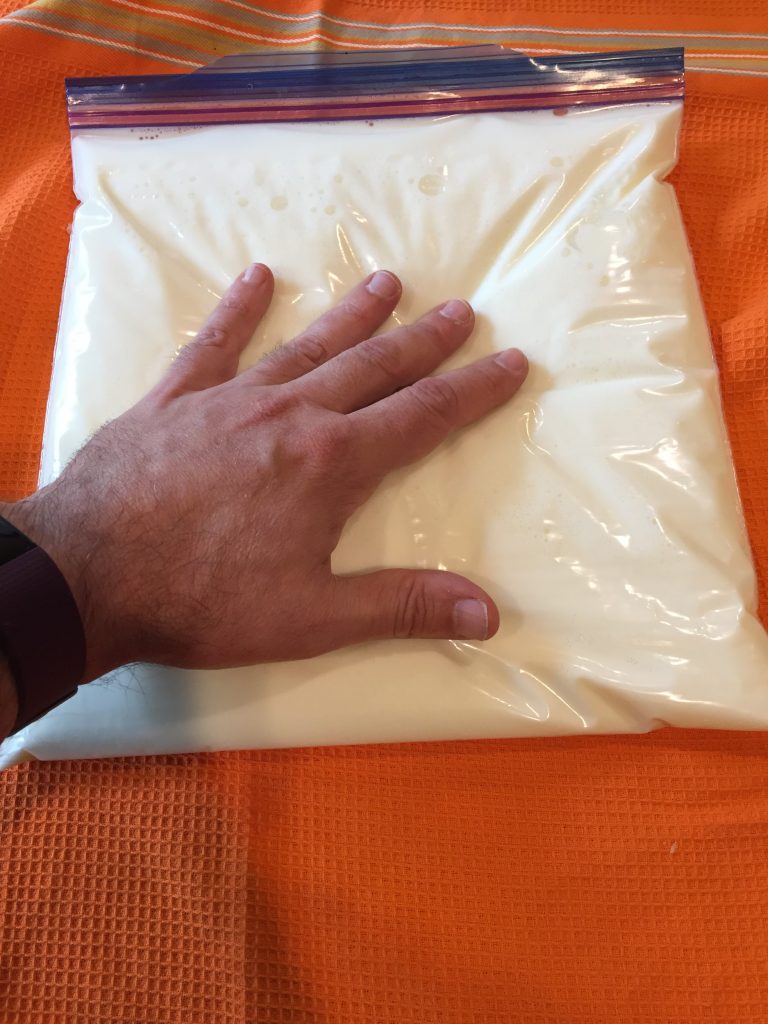
- Bag the milk in a ziplock bag. The cheap vacuum sealer I have is best for drier foods, so I just use a gallon freezer ziplock. Check it as they sometimes leak. Use either the water immersion method or edge of table to get most of the air out. If I’m careful, I can usually get a half gallon in the gallon bag.
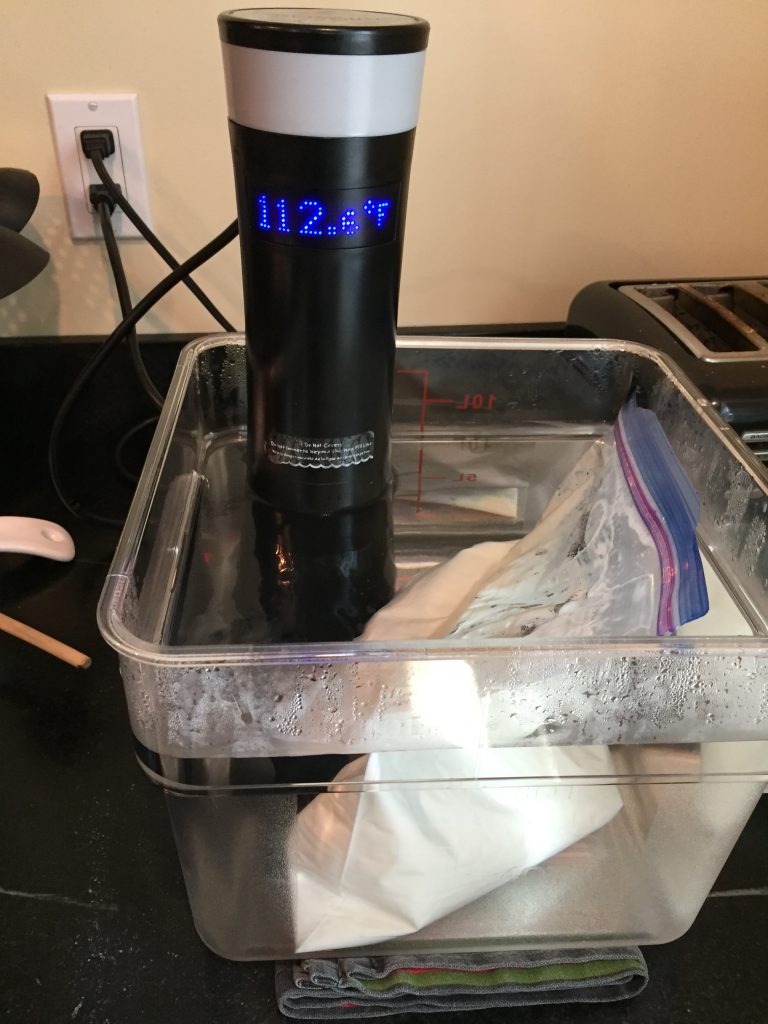
- I forgot to take a picture of this step, but pre-heat your immersion bath to between 180 and 185F. Cook for 1 hour. This apparently changes some of the proteins and makes them more available for fermentation. When it’s done, I chill it by putting the bag in a bowl and pouring cold water on it, waiting until the water is warm, pour out and repeat. It should be warm to the touch but not hot. If you have an infrared thermometer, make sure it’s below 120F.
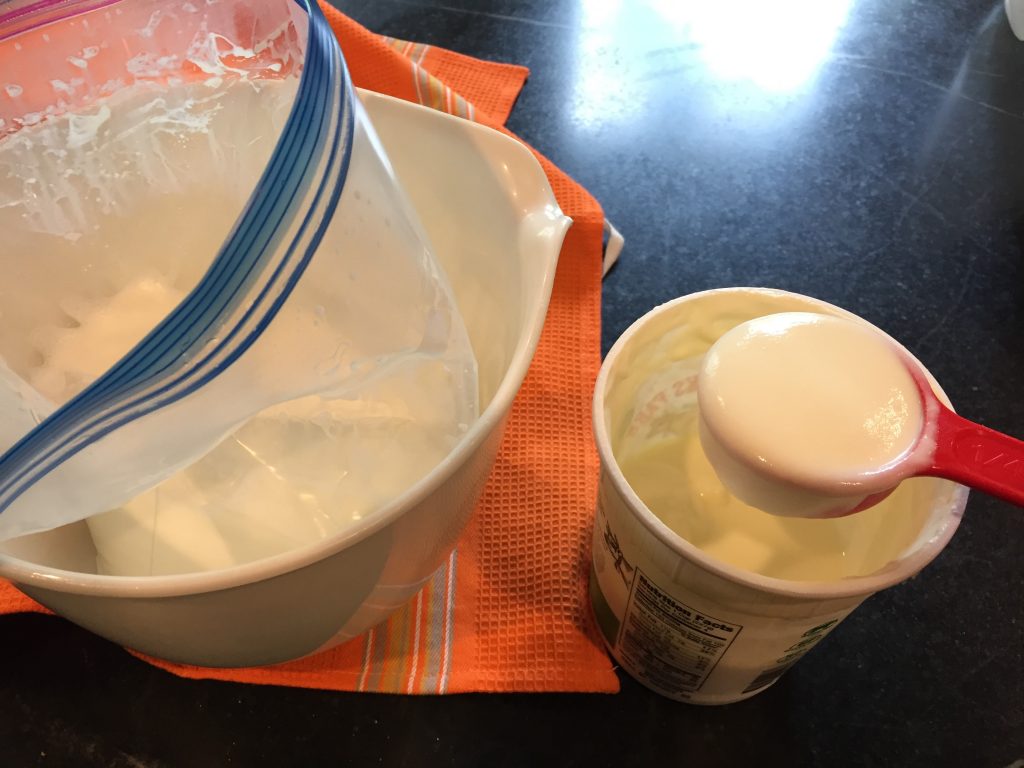
- Add 1/4 cup good plain yogurt with live cultures
Purge the air again, and reseal. Squish around on the table a bit to disperse the wee beasties. - Change the water (it’s too hot!) and reset the Immersion circulator for between 110 and 116F. I tend to use 112F.
Let it ferment for 6 hours or more. I generally stop at 6 hours. Longer is more sour if you like it that way. - When it’s done, you’ll see lots of solids and separate whey.
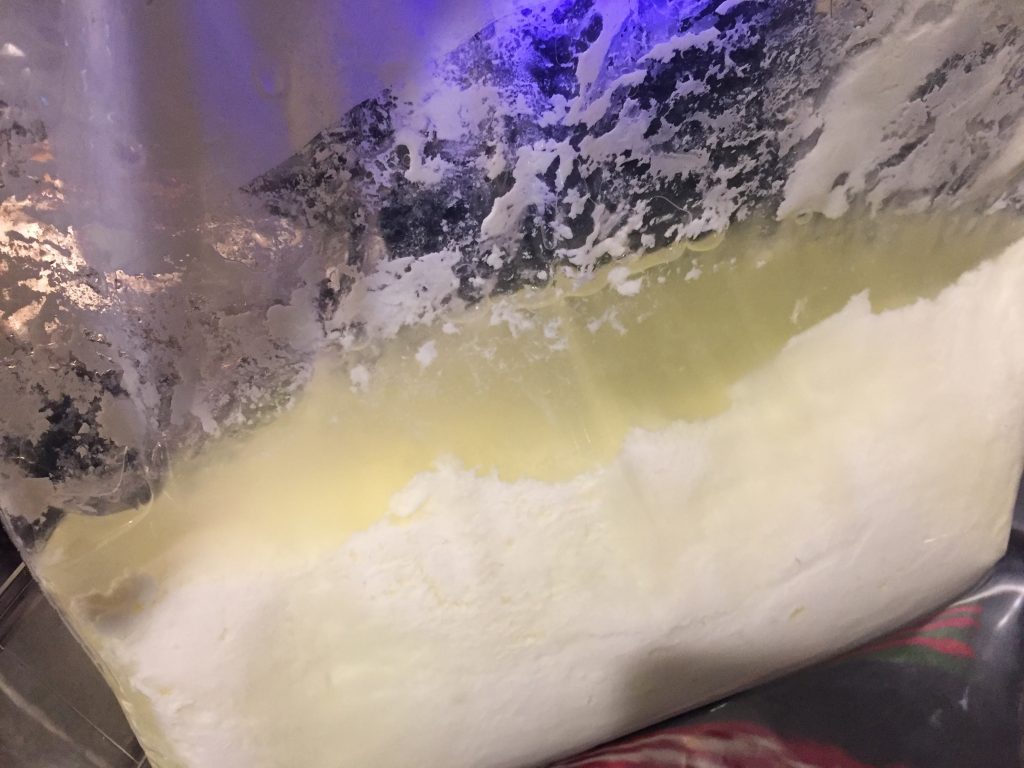
You can just re-mix it up at this point if you like more runny yogurt. I generally try to pour off as much whey as I can (save it, more on this in another post). This makes it more “greek like” though I don’t go crazy and strain it through cheese cloth. I just pour as much out of the bag as I can.
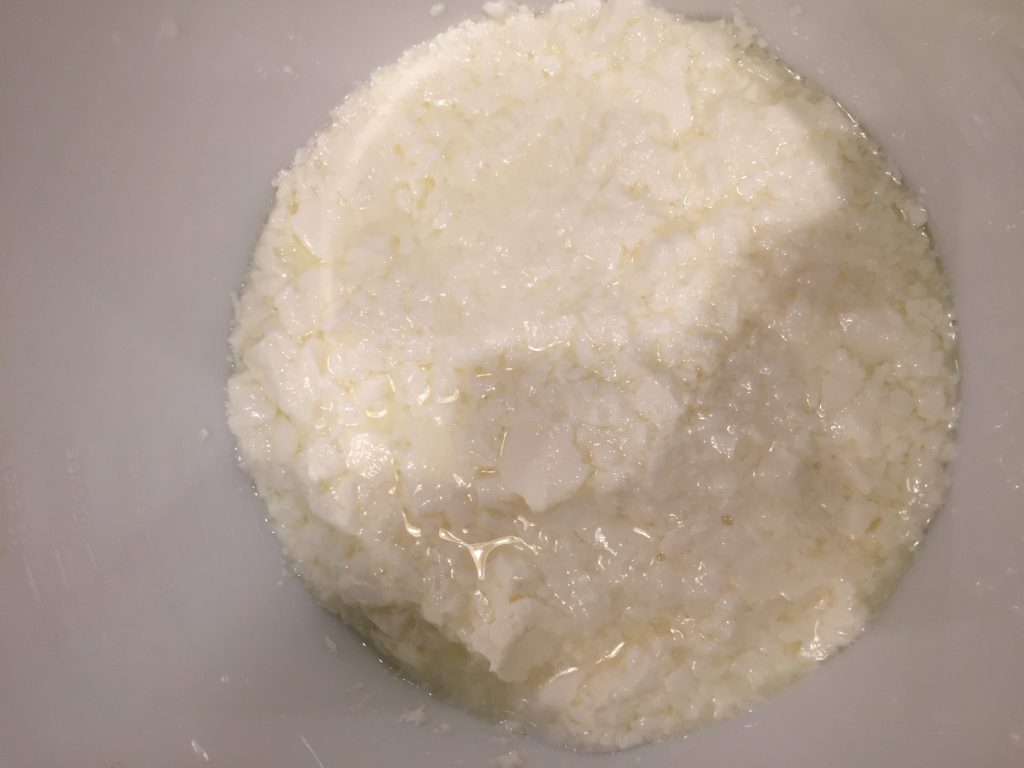
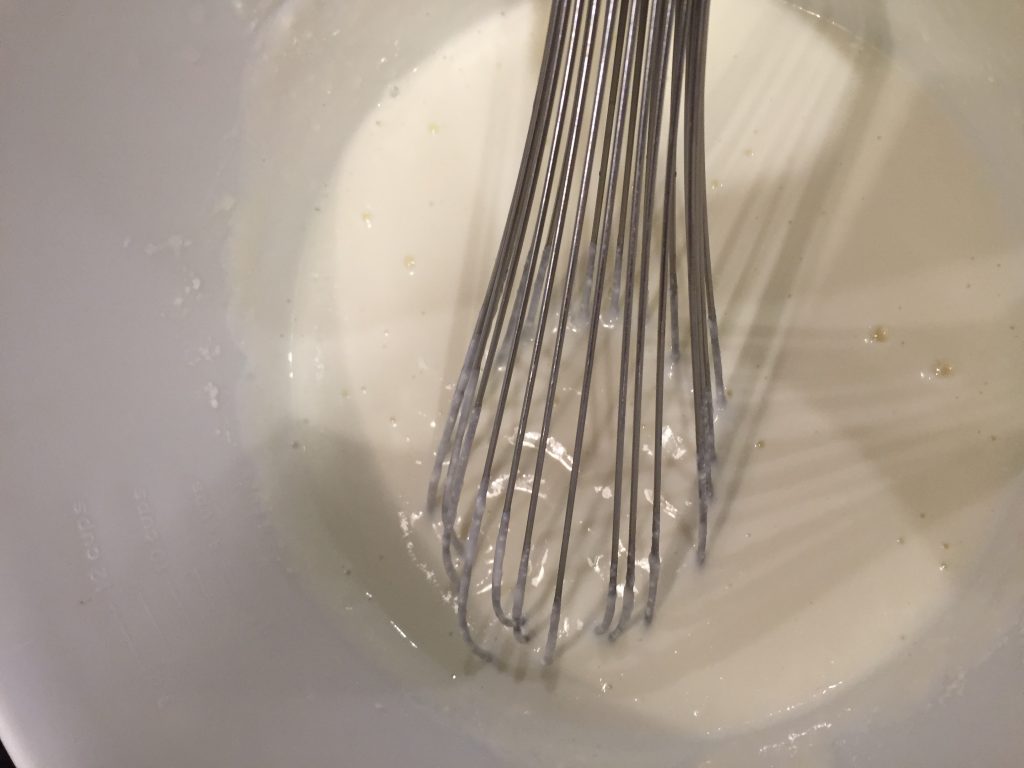
- Whisk or use an electric mixer to smooth it out. It is a little lumpier than commercial yogurt, but once you try it, there’s no going back.