Nano quads: is the Cheerson CX10A a good way to learn?

Continuing the quadcopter obsession, It’s hard not to run across the myriad of nano and mini quadcopters out there. They are cute, and offer the opportunity to fly indoors. My neighbor who flies a DJI Phantom 3 Pro said he learned on the Cheerson CX10. I ordered the upgraded version (CX10A) from BangGood in China, and while I was waiting, I saw them in action at Einsteins workshop in Burlington, MA at a robotics meetup. It looked really fun and their local quadcopter enthusiast made it look easy to fly, however other folks had a bit of difficulty.

Note, you can also buy it from Amazon for only a couple of dollars more and have it in two days!

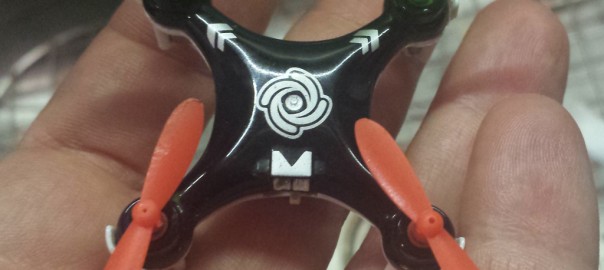
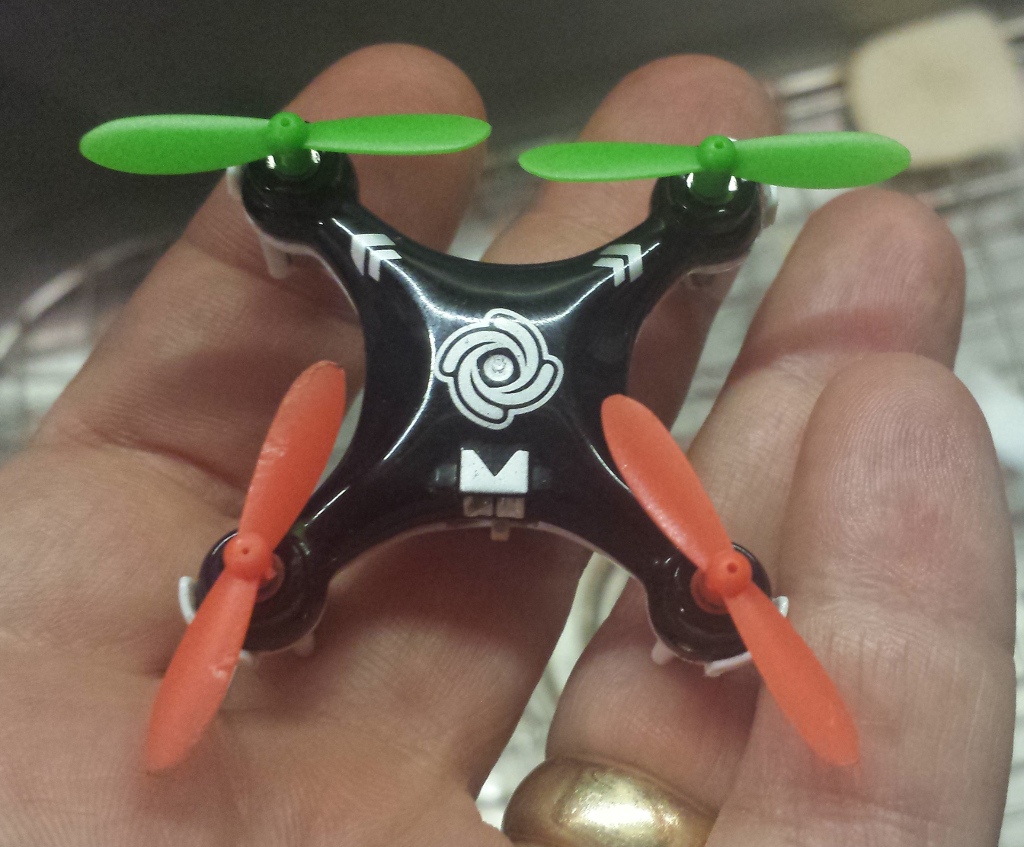
Well, it arrived, and it certainly is cute!
Cheerson_in_hand

Battery Power

Being tiny (though not the smallest…) It has a very small battery, and it’s inside the case soldered to the board. While the sites advertise replacement batteries, it’s not an easy swap. You’s have to cut the connector off the new battery (Be careful!) and solder it to the board. It comes with a little USB plug charger that charges it in about 30 min. My flight times were initially longer, but now I get about 5-6 minutes without prop guards.
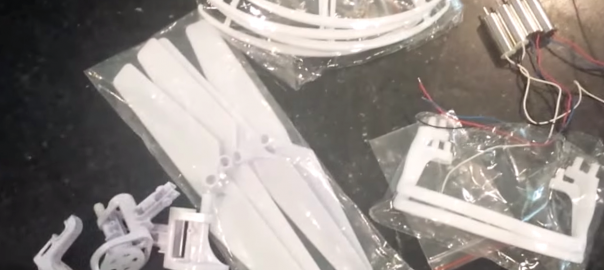
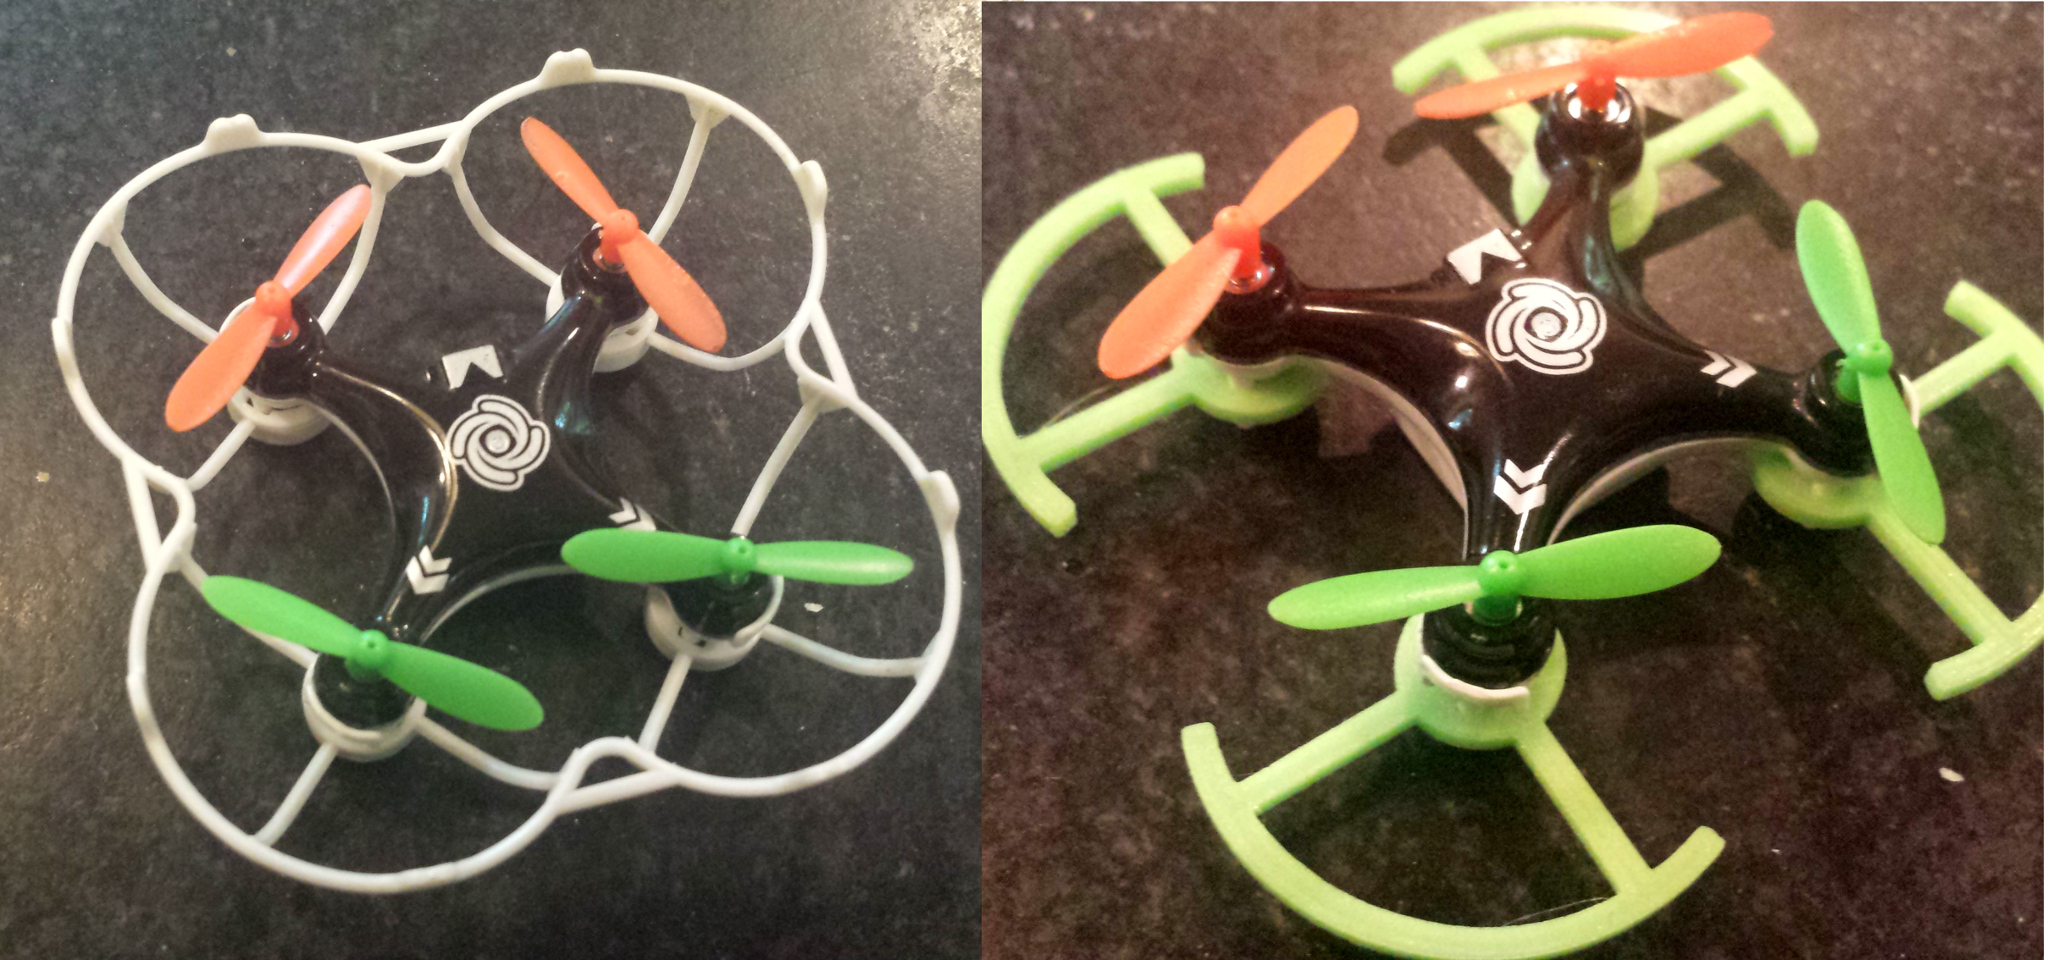
Prop Guards

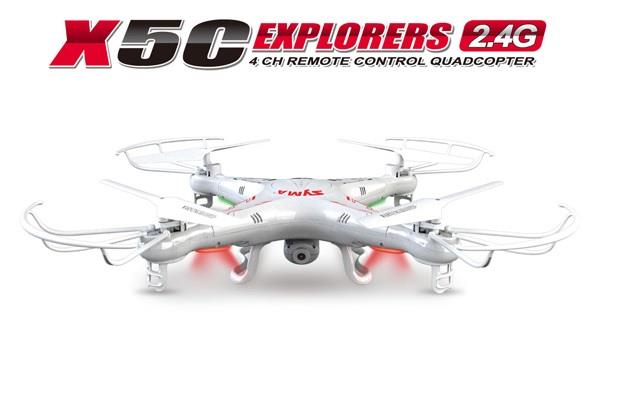
Now, I was still a newbie (though I had some practice flying the Syma X5C) and I broke a lot of props (order plenty of spares!)
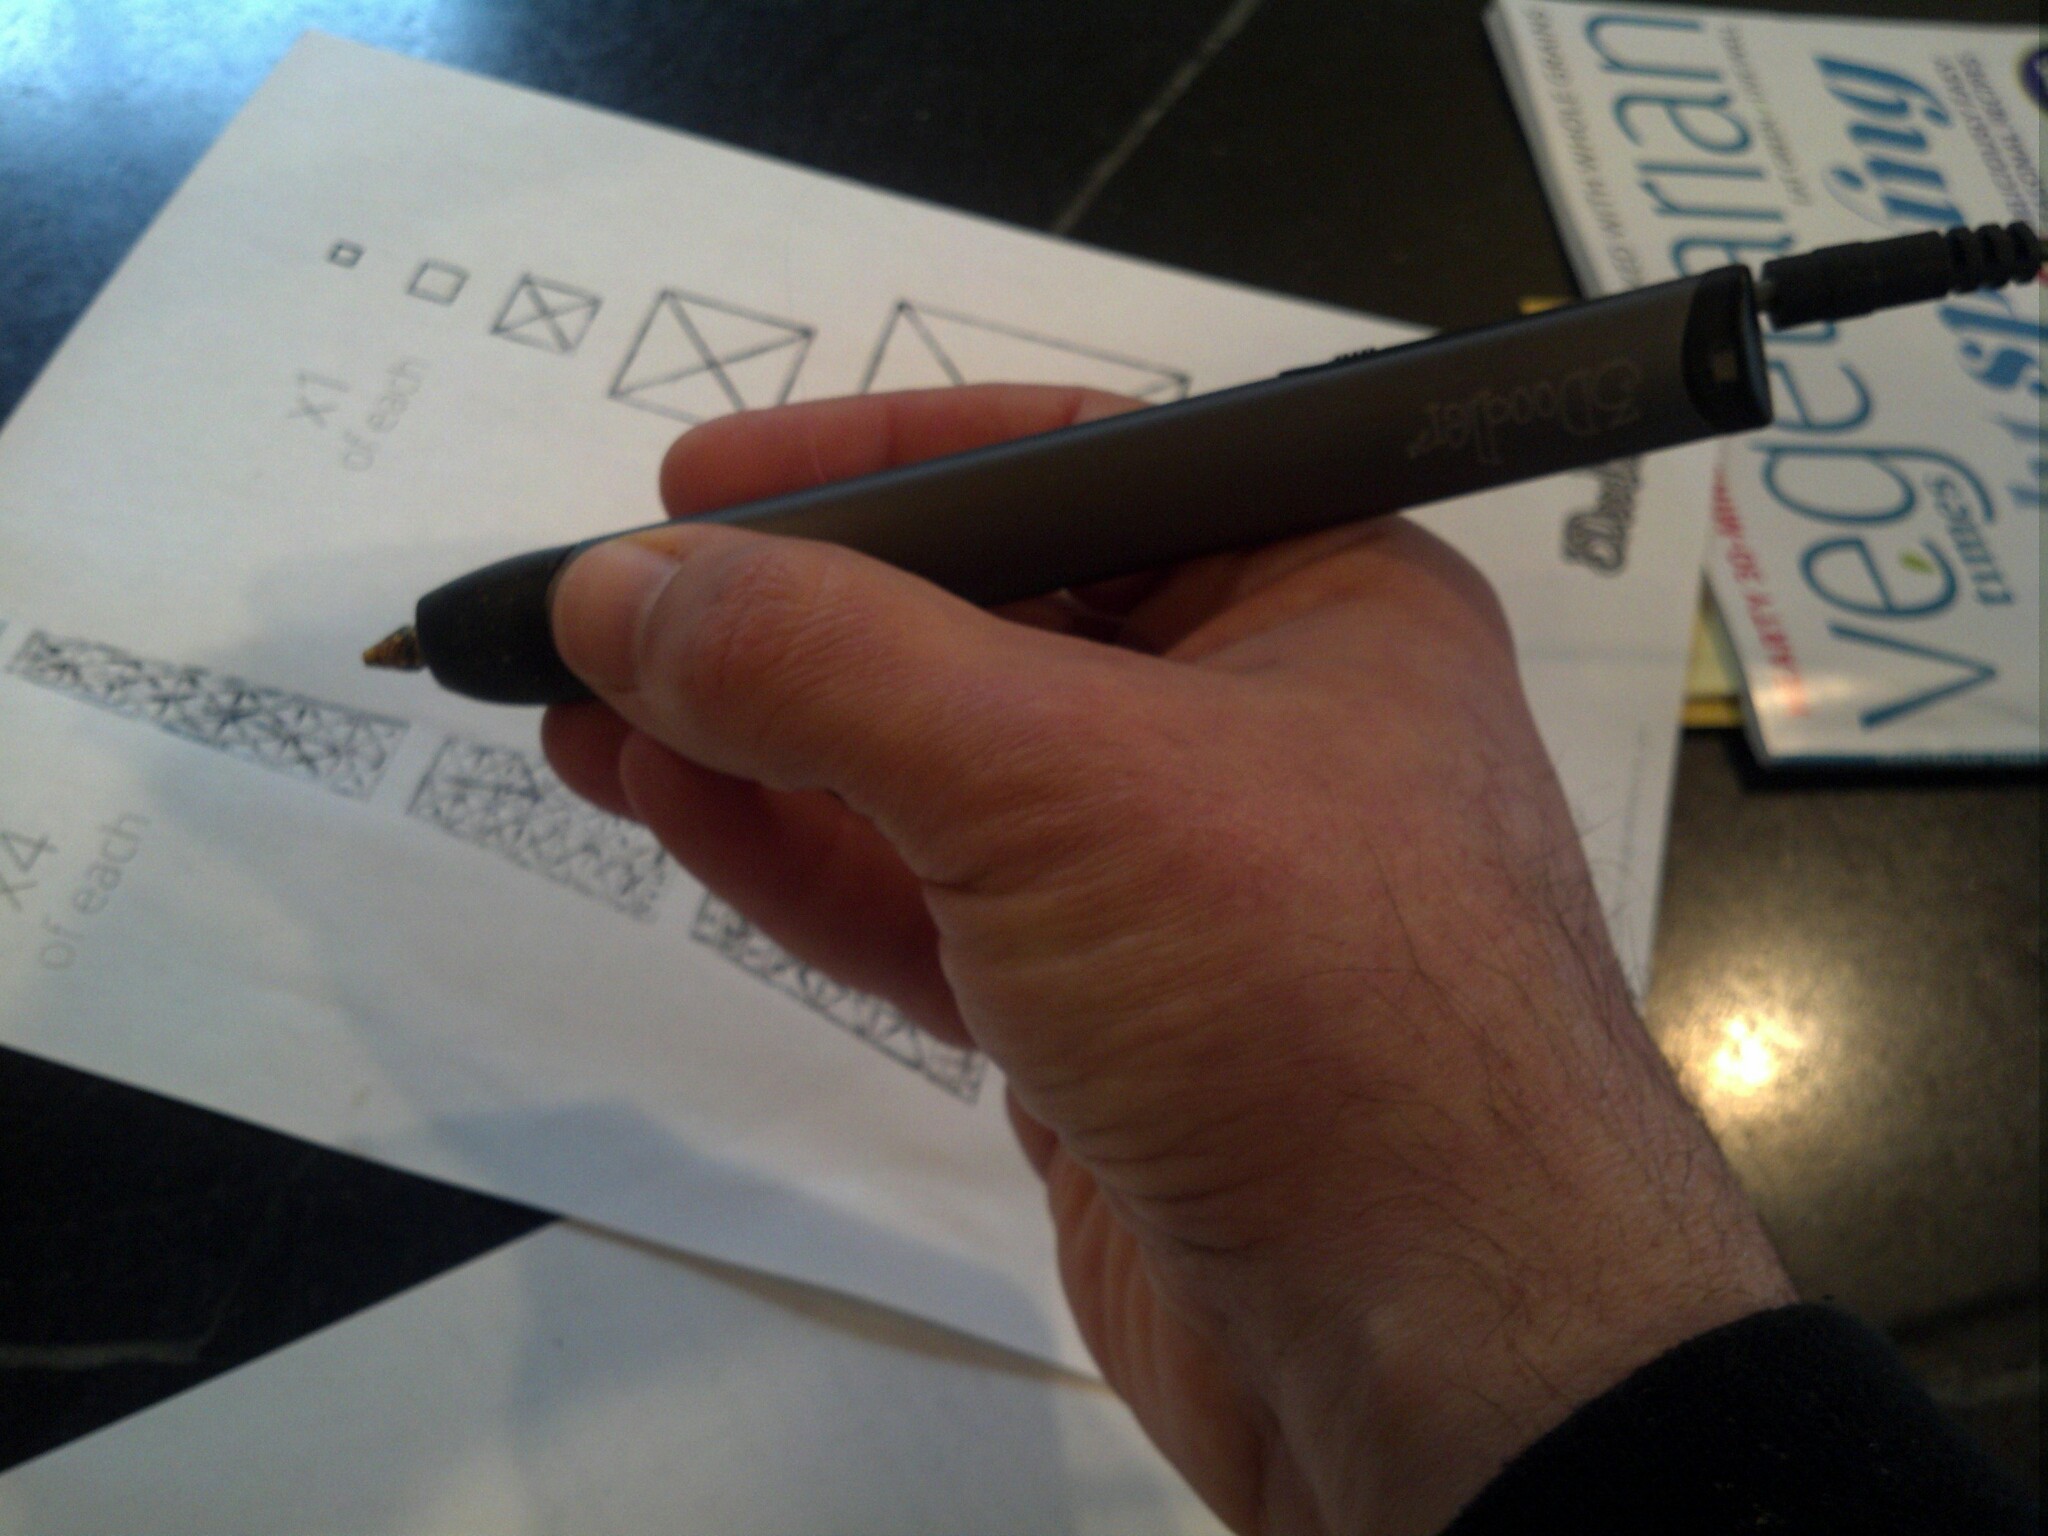
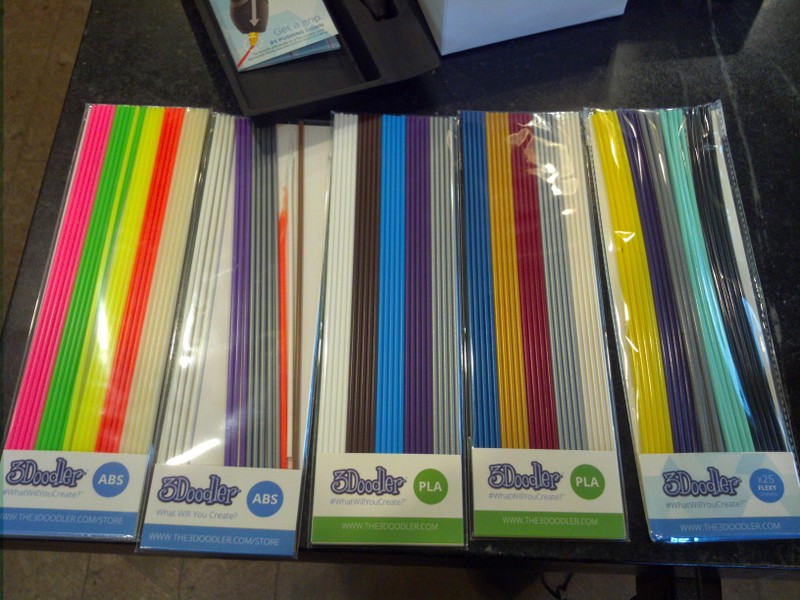
It doesn’t come with prop guards so I 3d printed some from designs on thingiverse, and later ordered an aftermarket propguard that was much lighter.

Aftermarket on the Left, 3D printed on the right

How does it fly?

Let me say this: It’s all about the thrust, and I’m afraid the tiny props just don’t provide a lot. Without propguards it flies reasonably well, though it’s not going to win any awards for turning quickly.  With the prop guards, it has significantly more inertia, and no more thrust, so it tends to be a bit more jerky. It falls faster, stops slower, and in general is hard to fly. Not a great thing for a beginner learning to fly. Also keep in mind, this thing is tiny, and you can easily loose track of it.

It also has an acrobatics mode, if you push down on the right joystick, and then push it in the direction you want it to flip, it will execute a nice flip for you. Don’t do this too near the ground (or other people…) as it’s likely to lose some altitude in recovering from the flip.

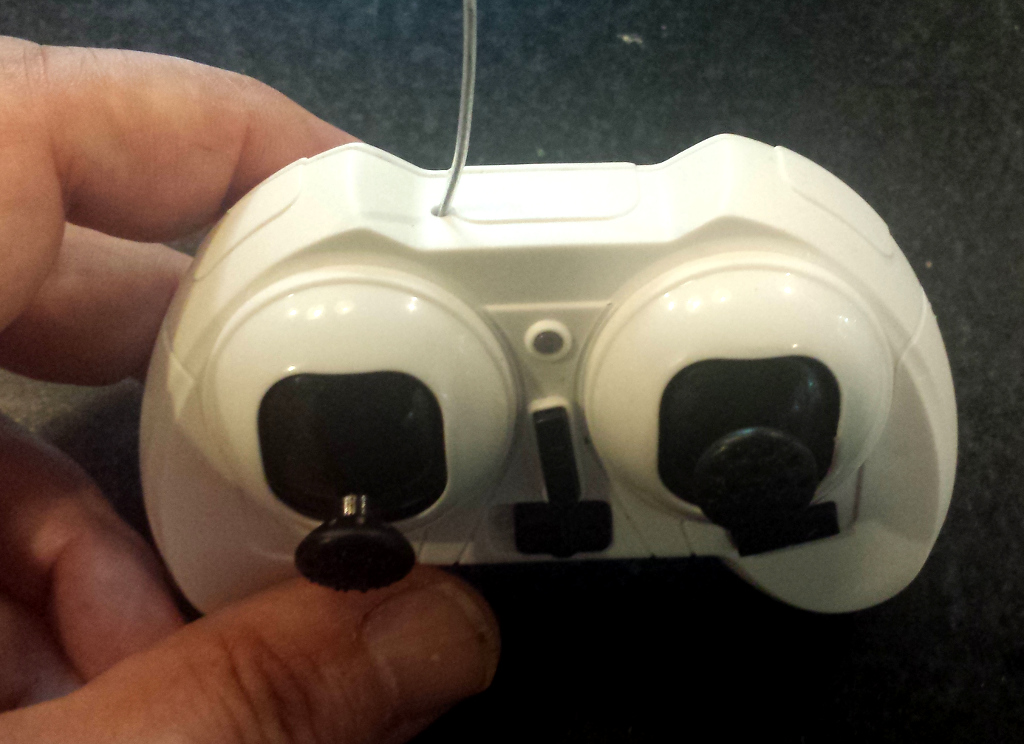
Range limitations (and a fix)

When I got better at flying it, and was taking it outside, I thought it was broken. It would stop turning in one direction, or just suddenly I’d lose control. I noticed that up close, I didn’t have these problems, but 20 feet away, yuck.

I’d seen some youtubes where people extracted the little wire antenna on other quadcopters and their controllers, so I cracked open the controller, drilled a little hole in the case and fed the wire antenna through, and now it behaves great! I can fly it at least a block away. Don’t bother cracking the copter itself open to do the same thing, as there is no wire antenna, it’s just built into the PCB.

CX10controllermod

Headless Mode

The CX10A differs from the original CX10 in that it has a “headless mode.” Normally when you fly a copter away from you (back of the craft toward you) Left is Left and Right is Right. If the copter is flying toward you, it’s reversed. If you push the stick left, the quad will go right, and vice versa. In more advanced quadcopters, a special “headless” mode is implemented with an electronic compass, that allows whatever direction you take off in to be the “normal” direction. now, no matter which way you fly, the quad will go Left when you push left, and Right when you push right. On the CX10A, they try to do this by keeping track of turning (it does have a gyroscope sensor) in software. It works….For a while, until it gets confused, and then you have to turn the copter off, and re-pair with the controller. Also, any bump or crash, makes it either go crazy (one or two motors on full speed) or just stop responding all together.

Conclusion

It’s a fun toy, and once you learn to hover relatively well, it’ fun to fly it from one person’s palm to the next. It’s a bit flakey when it crashes,  and is underpowered, so I really wouldn’t recommend it for learning to fly. A larger copter, (even a mini, like the Hubsan X4 or the Eachine H8 which I’ll review next) are more agile flyers. I don’t have any other Nano-copters to compare it with, but the bigger ones are easier to fly in general. The nano size can be more readily flown indoors (with even my poor flying ability!) but you should watch out for crashing and you are going to have to clean things like hairs out of the props it if lands in an untidy corner.

MacGuyver Copter Part 1

You see a ton of projects on the web where they stick some motors on some sticks, and viola! a quadcopter. Thing is, those motors and full featured flight controllers are expensive. I wanted to try to scratch build a quadcopter from super cheap spare parts from the Syma X5c.

New Version Syma X5C 2.4G 6 Axis GYRO HD Camera RC Quadcopter RTF RC Helicopter with 2.0MP Camera By E-Trade Deal
Syma X5 X5c Quadcopter Full Part Set 4*motors Propellers Landing Skid Protectors Motor Base


Getting Started with Quadcopters

Of course I’ve been interested in multirotor aircraft like quadcopters. I am a geek after all! All the things I read about were about advanced hobbyist or professional models, and the price was prohibitive. Then I went to the Northern Virginia Mini Maker Faire, and there were drones everywhere! There was a shop that was selling nano-quads, for $40, and NovaLabs had organized a flying contest using a Syma X5 4 Channel 2.4GHz RC Explorers Quad Copter that can be had for less than $40 on Amazon.

When I got home I ordered the X5C version which has a high def camera and comes in under $50.

It comes with a battery (you might want to buy extras), transmitter, a charger, extra blades, prop guards and even a micro-sd card for the camera. You’ll need to add AA batteries for the transmitter.

I’m really glad I dipped my toes this way, as I’ve learned a lot, and there IS a lot to learn! I’ve tried to fly RC planes in the past, and found it just too hard and frustrating. While I did crash the X5C (a lot!) it’s pretty unbreakable, and comes with lots of spare parts. Since hovering is the general idea, it’s usually not that far away (though you can fly it pretty far away from you!)

How does it work?

It’s also easier to fly because the onboard computer and IMU (Inertial Management Unit, a fancy name for Gyroscopes and Accelerometers) keep the unit level in flight. Here’s a little video to demonstrate this:

Flying

Getting started, it is a good idea to use the prop guards especially if you are flying indoors. This aircraft is extremely light, so flying it outdoors is really difficult if there is more than light wind, though once you get the hang of it you can fly it in a breeze.

There’s also a button that lets you make it do flips! Be careful not to do it too near the ground or any bystanders, and it works better with the camera removed.

Video

The camera is for capturing pictures and video, and you do not get to see it in real time (that’s called FPV or First Person Viewing, and is a lot more expensive!) You have to remove the micro-sd card and load it on your computer (they even include a USB micro-sd reader!)

The video is pretty good, though in flight, it’s got a lot of vibration. Here’s a sample:

I’m going to experiment with unscrewing the camera and affixing it with foam mounting tape to see if the vibrations can be reduced.

The camera is also easily removed, if you want more flight time or to do more acrobatics.

What it isn’t

This quad doesn’t fly itself. My neighbor  (Check out his awesome youtube channel on Card Tricks, The Card Cave ) Has a $1500 DJI Phantom 3 Pro. You can tell it to auto take off, return to home, and if you set it to hover somewhere, it stays there, even if the wind is blowing (there are limits, but it’s pretty amazing.) These kinds of copters are enabled with GPS and magnetometers (digital compass) so they can stick to a heading or position, and be programmed to move between them. The video is on a brushless motor gimble that keeps the video rock solid, even when the quad is being buffeted.  You can set these fancy copters into “Acro” mode and fly it just like the Syma X5C, but frankly I’d be scared to.

What it is good for

  • Learning to fly. I’m interested in FPV racing and the principles are the same.
  • Learning how to fix a quad copter (cheaply). Every part of this quad is available (either through amazon or one of the chines sites like banggood.com). My son crashed it hard, and it bent the propeller shaft. I ordered a new motor mount for about $2, and I was back in business.

I’m even thinking about getting a full set of spare parts (less the camera and body) and trying to scratch build a quad from them. Stay tuned.

3Doodler 2.0 First impressions

IMG_20150425_181802While it’s true that I love geeky new toys, I’m not typically an early adopter, preferring to wait until the bugs are worked out. Several of my neighbors got the first generation 3Doodler, and since it first came out, there have been many imitators. I backed the 3Doodler 2.0 kickstarter, and it arrived when I was away visiting family.

Impressions

It was a little annoying that it came via DHL with signature required. I managed to circumvent that via their website though, and it was nice to know ahead of time that I had a package coming.

IMG_20150428_081610The new pen is Much Much sleeker and very pleasant to hold. I don’t have much experience with the first edition, but my impression was that it was clunky and it’s plastic case made me hesitate about spending $100 for an educational toy. The new design was a good part of what pushed me over the edge, and the metal case feels much more professional, and the mechanics seem to work really well. It comes with a little screwdriver to adjust the temperature, as well as a wrench to remove the nozzle and a cool spring thing to push through any unextruded plastic when changing colors.

Patience!

My 14 year old daughter initially almost threw it across the room in frustration. I think it was mainly a matter of expectations, as it does take a little while (after heating up) for a newly loaded strand to reach the nozzle. I also initially thought parchment paper (being heat resistant) would be good to doodle on, but it was a terrible choice as the plastic wouldn’t stick to it.

Doodling surface

We tried several other things, and eventually hit upon several good surfaces. It’s important not to doodle on a really cold surface (as our stone countertops are this time of the year in Boston) as the plastic shrinks quickly and comes unstuck. Some scrap acrylic worked really well, as did plain paper.

Once we had things humming along, Charlotte tried again and instantly did the cute baby dragon in the photo above. While it’s not a fast process, its quite meditative.

 3D vs 2D construction and materials

IMG_20150425_181857

It comes with a nice variety of materials, 2 packs of PLA, 2 Packs of ABS and one pack of flexible filament. If you want to doodle in the air and make 3D objects in place, your only choice really is ABS as it hardens quickly. It would probably also benefit from a desk fan to speed up the process. You can do some vertical stuff with PLA by doodling upside down and let gravity hold things straight for you.

Another option is to doodle 2 dimensional parts and then tack them together with the pen. 3Doodler has a number of fun templates on their website that you can print out, doodle over then peel off and tack together. I did their classic Eiffel Tower.

IMG_20150428_081539

The first thing you’ll notice is that if you want precision, and a clean aesthetic, you should just get yourself a 3D printer. That said the drippy organic look has it’s own charm.

The second thing you’ll notice is that I made it from Pink PLA, and there certainly wasn’t enough of one color in the packs to do the whole thing. I’m fortunate to have a 3D printer that uses the same diameter (3mm) filament, so I cut some lengths of PLA. Because filament comes on a spool, the radius of the segments turned out to be a problem, causing it to not feed well. Holding the curvey segments over the stove burner (probably not recommended, a hair dryer would be a better choice). and rolling them straight on the counter made quite usable sticks that fed perfectly. There are two tools which are handy (and not included). One is a pair of tweezers to safely remove plastic from the outside of the nozzle,  and a pair of cutters to trim the melty part off the end of a filament you’ve backed out when changing colors.  They recommend you trim the end when reusing filament, but I managed to get the original sticks to feed in fine with little melty blobs on the end, but YMMV.

Accessories

I was already exceeding my budget to buy the pen, so I didn’t opt for any of the accessories, though I was sorely tempted. They offer a nozzle pack (including cool ribbony flat nozzles) and a battery pack for portable doodling. There’s also a foot pedal, whIch would relieve some of the stress of pushing the button (but I got pretty good at freehanding in the continuous extrusion mode…)

One other really cool thing they did for their kickstarter was to offer education packs that gave a good price with a generous helping of accessories for educational institutions.

Conclusion

I think the 3Doodler 2.0 is a well engineered and fun gadget. I’m planning on getting together with my neighbors and we’ll compare with the first version, as well as get more kid reaction, but in general I think it’s a great creativity inspiring tool.


Preparing for a Bristlebots Workshop

The Earl Center folks at Wheelock college are doing Bristlebots at the Cambridge Science Festival and I put together a bunch of kits for them. I updated my resource page with updated information about getting the materials and the tools you need.
Here’s the Updated Info

And Here are a couple of videos to entertain you from previous workshops:
[youtube]https://www.youtube.com/watch?v=JiCylYs6G0o[/youtube]
[youtube]http://youtu.be/MR3K_uxIOSs[/youtube]

Laser Cut Scratch Cat

Wyolum got me a laser to expand our distributed prototyping capability. I’ll have more on that later, but I made a little trinket for Scratch classes that I’ve been teaching.

scratch-lasered

I had difficulty finding a vector file good for lasering, so I made this one. Nice handout for Scratch classes

The official SVG version has overlapping paths that rely on fills to hide some of the shapes.

I traced a bitmap version in inkscape and did a little cleanup. It’s still not perfect with some double lines.

I’ll try to do a better trace to improve but this one cuts ok.

Update: done

v1-v2-comp

You can find the SVG over at Youmagine.com: https://youmagine.com/designs/laser-cut-scratch-cat

Note that the Scratch cat image and logo are trademarks of the Lifelong Kindergarten Group at MIT. Check out Scratch at http://scratch.mit.edu

Holiday project: Dreideltron 5775

The Boston JCC  called me looking for maker activities for an upcoming Hanukkah event, and I thought of this little activity.

The copper tape is pretty unreliable though, and it may not be suitable for a big crowd where there may not be time to debug. I’d be curious to hear of other people’s experience doing paper circuits and the like. This was working perfectly for a while and then it stopped. I suspect the adhesive (which is supposed to be conductive), just stopped conducting. Perhaps I just need to buy higher quality copper tape?

From Blink to Bot: Introduction

JoebotJoe McDermot (leader of the Boston Robotics Meetup) discovered many members of the Boston Robotics Meetup had never scratch built a robot, so he sourced some cheap components from China and led a group build session. Joe did a fantastic job, keeping the price to $60, for a robot with 4 motors, Arduino clone controller,  3 ping sensors and IR control. (Joe’s a modest guy, but I call it Joebot)

After building it, a lot of the members had trouble with the programming, trouble I’ve seen when people attempt to do slightly more complex projects on the Arduino, after doing the basic Blink, and other examples.

In this series of posts, I will attempt to show how to coordinate several activities in an Arduino program. While the robot is an excellent challenge, the lessons here can be applied to any project where you have to “simultaneously” read sensors, control actuators, etc.

Bot-BOM:

  • 4 DC gear motors with Wheels
  • Acrylic base
  • L9110s  BLUE motor control board (2 channel, 2 wire control per motor)
  • IR receiver
  • 2 – Ping type distance sensors
  • Arduino Nano V3 Clone
  • Breadboards, wires, etc.

One note of caution here, many of the Nano clones used counterfeit FTDI chips, and were bricked by the new windows driver. DCCDuino, is actually not an out and out copy and uses a different USB-Serial chip, and works well.

JoeBotLabledNext post we’ll work out how to handle motor control.