Category Archives: Quadcopters

First Video, and a few Quadcopter lessons learned

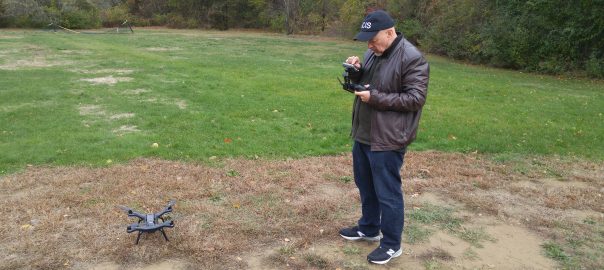
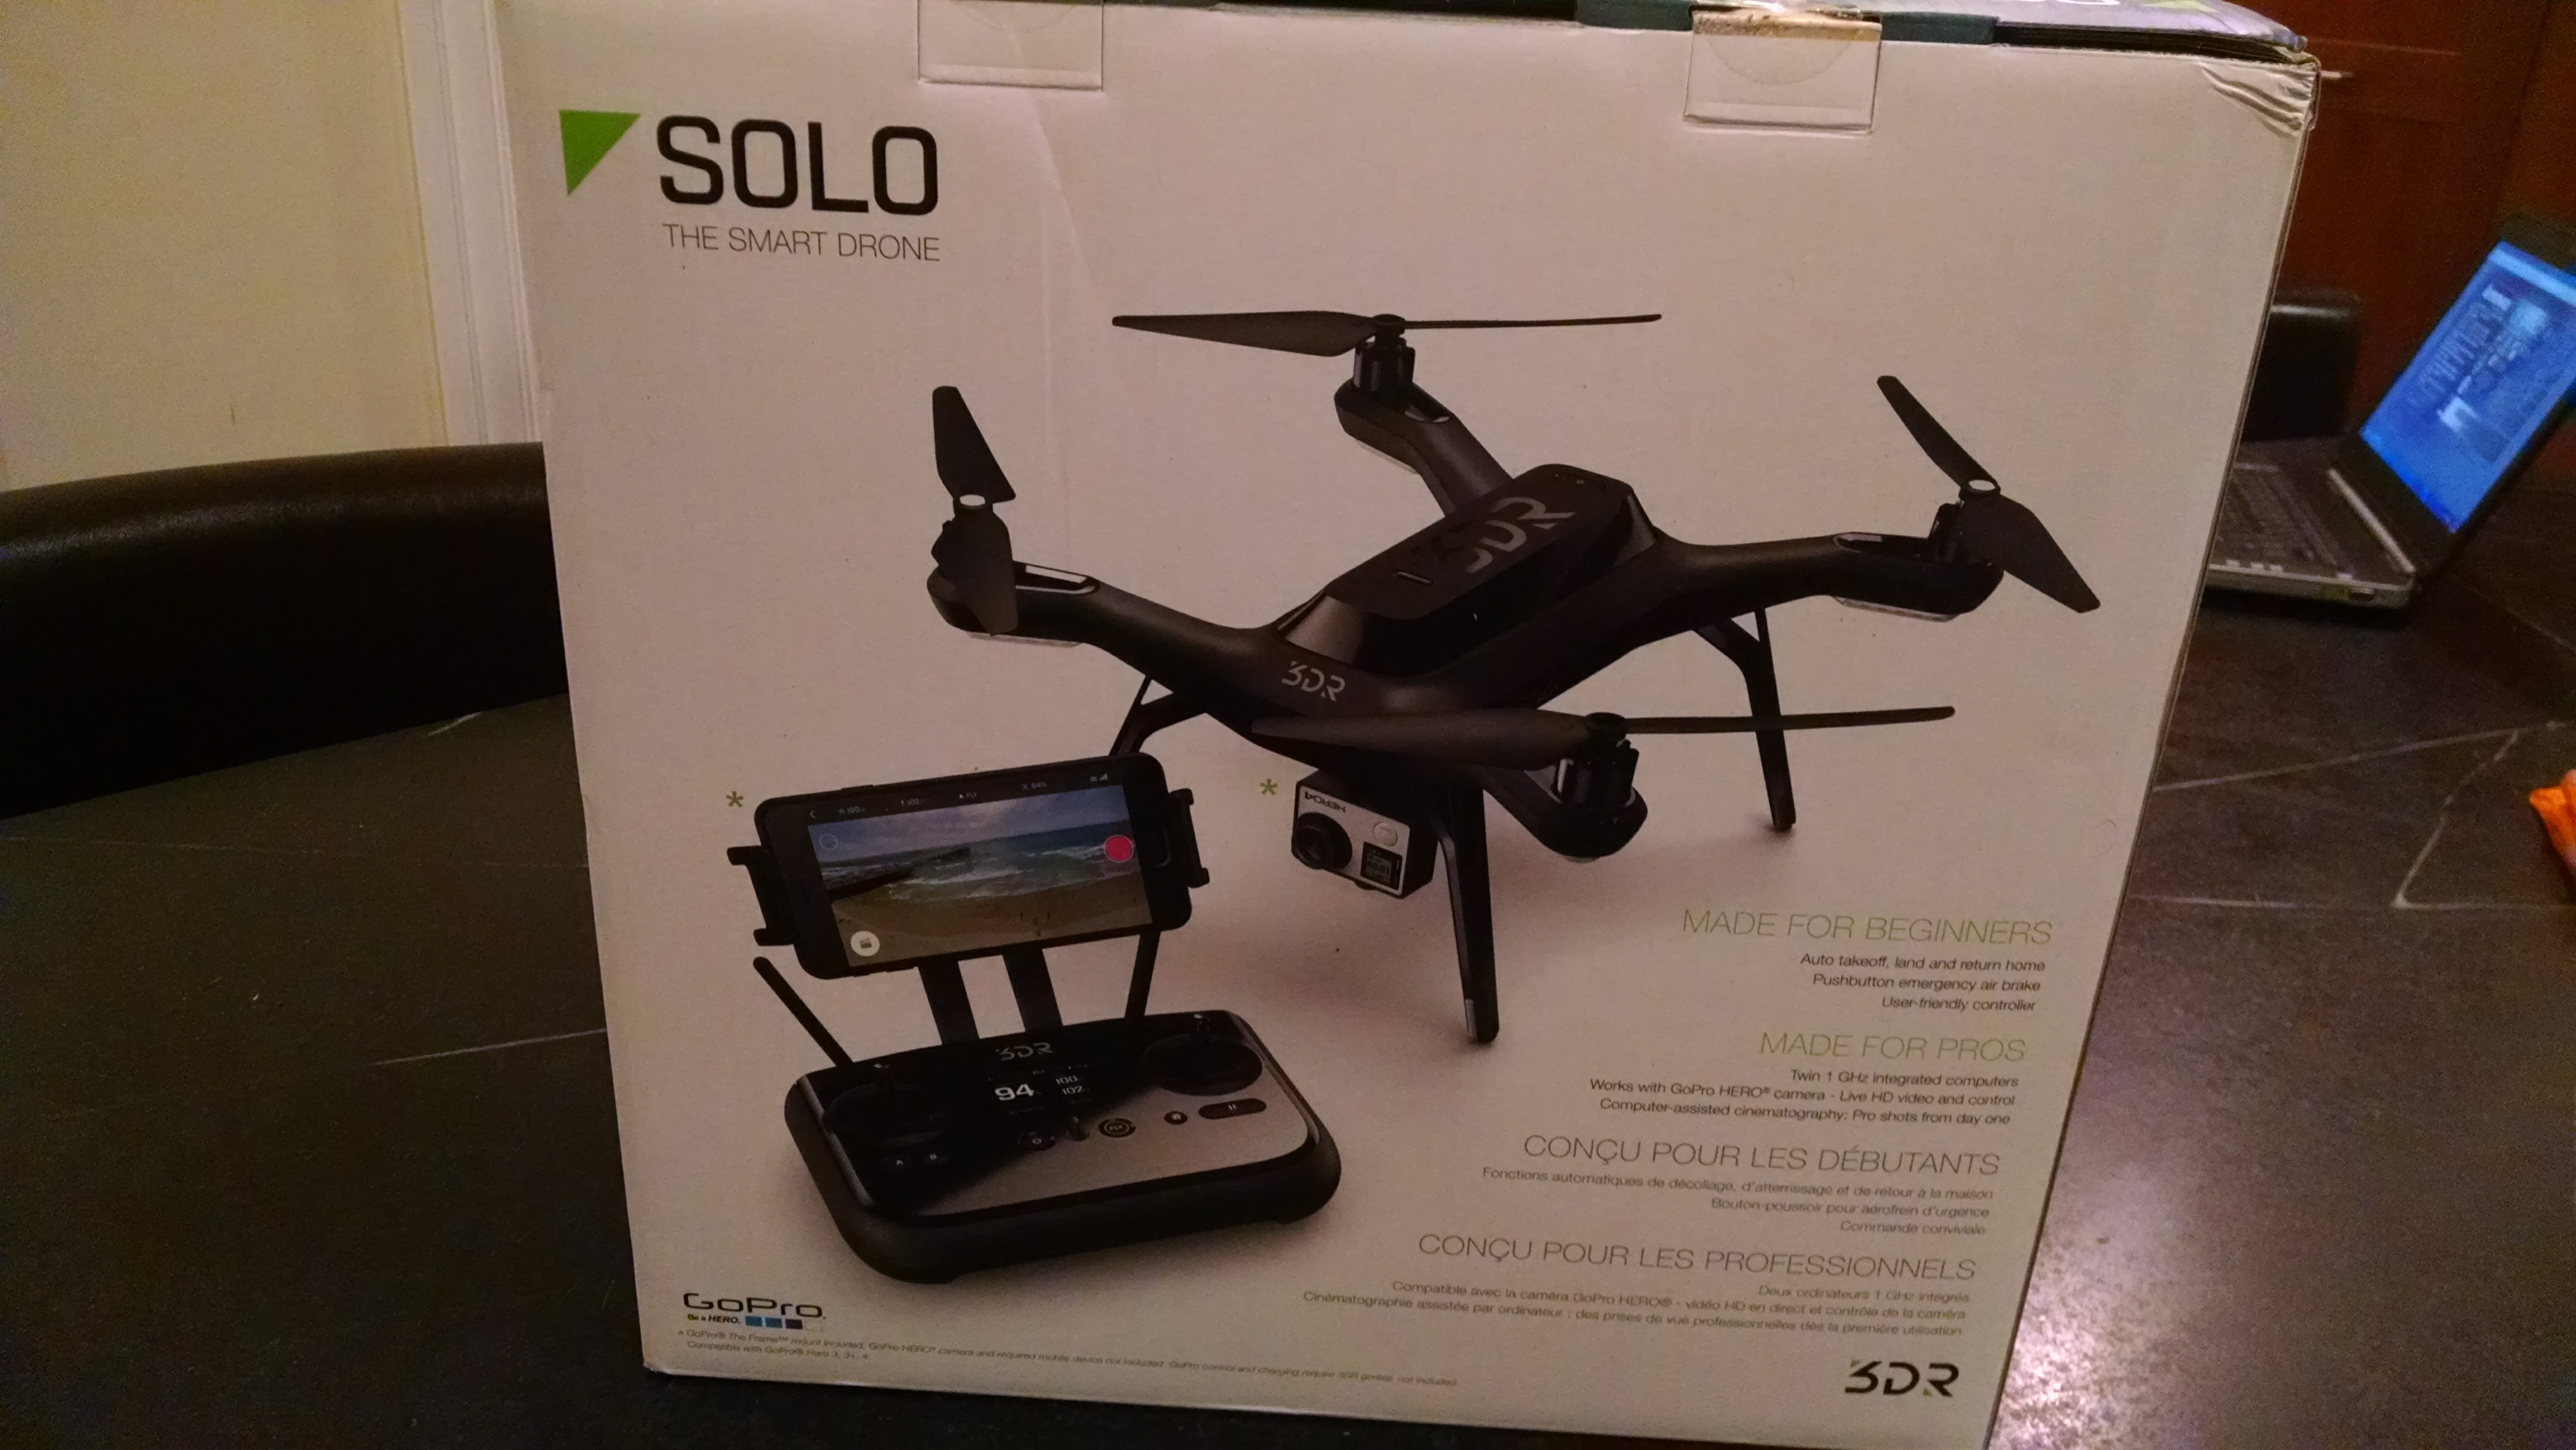
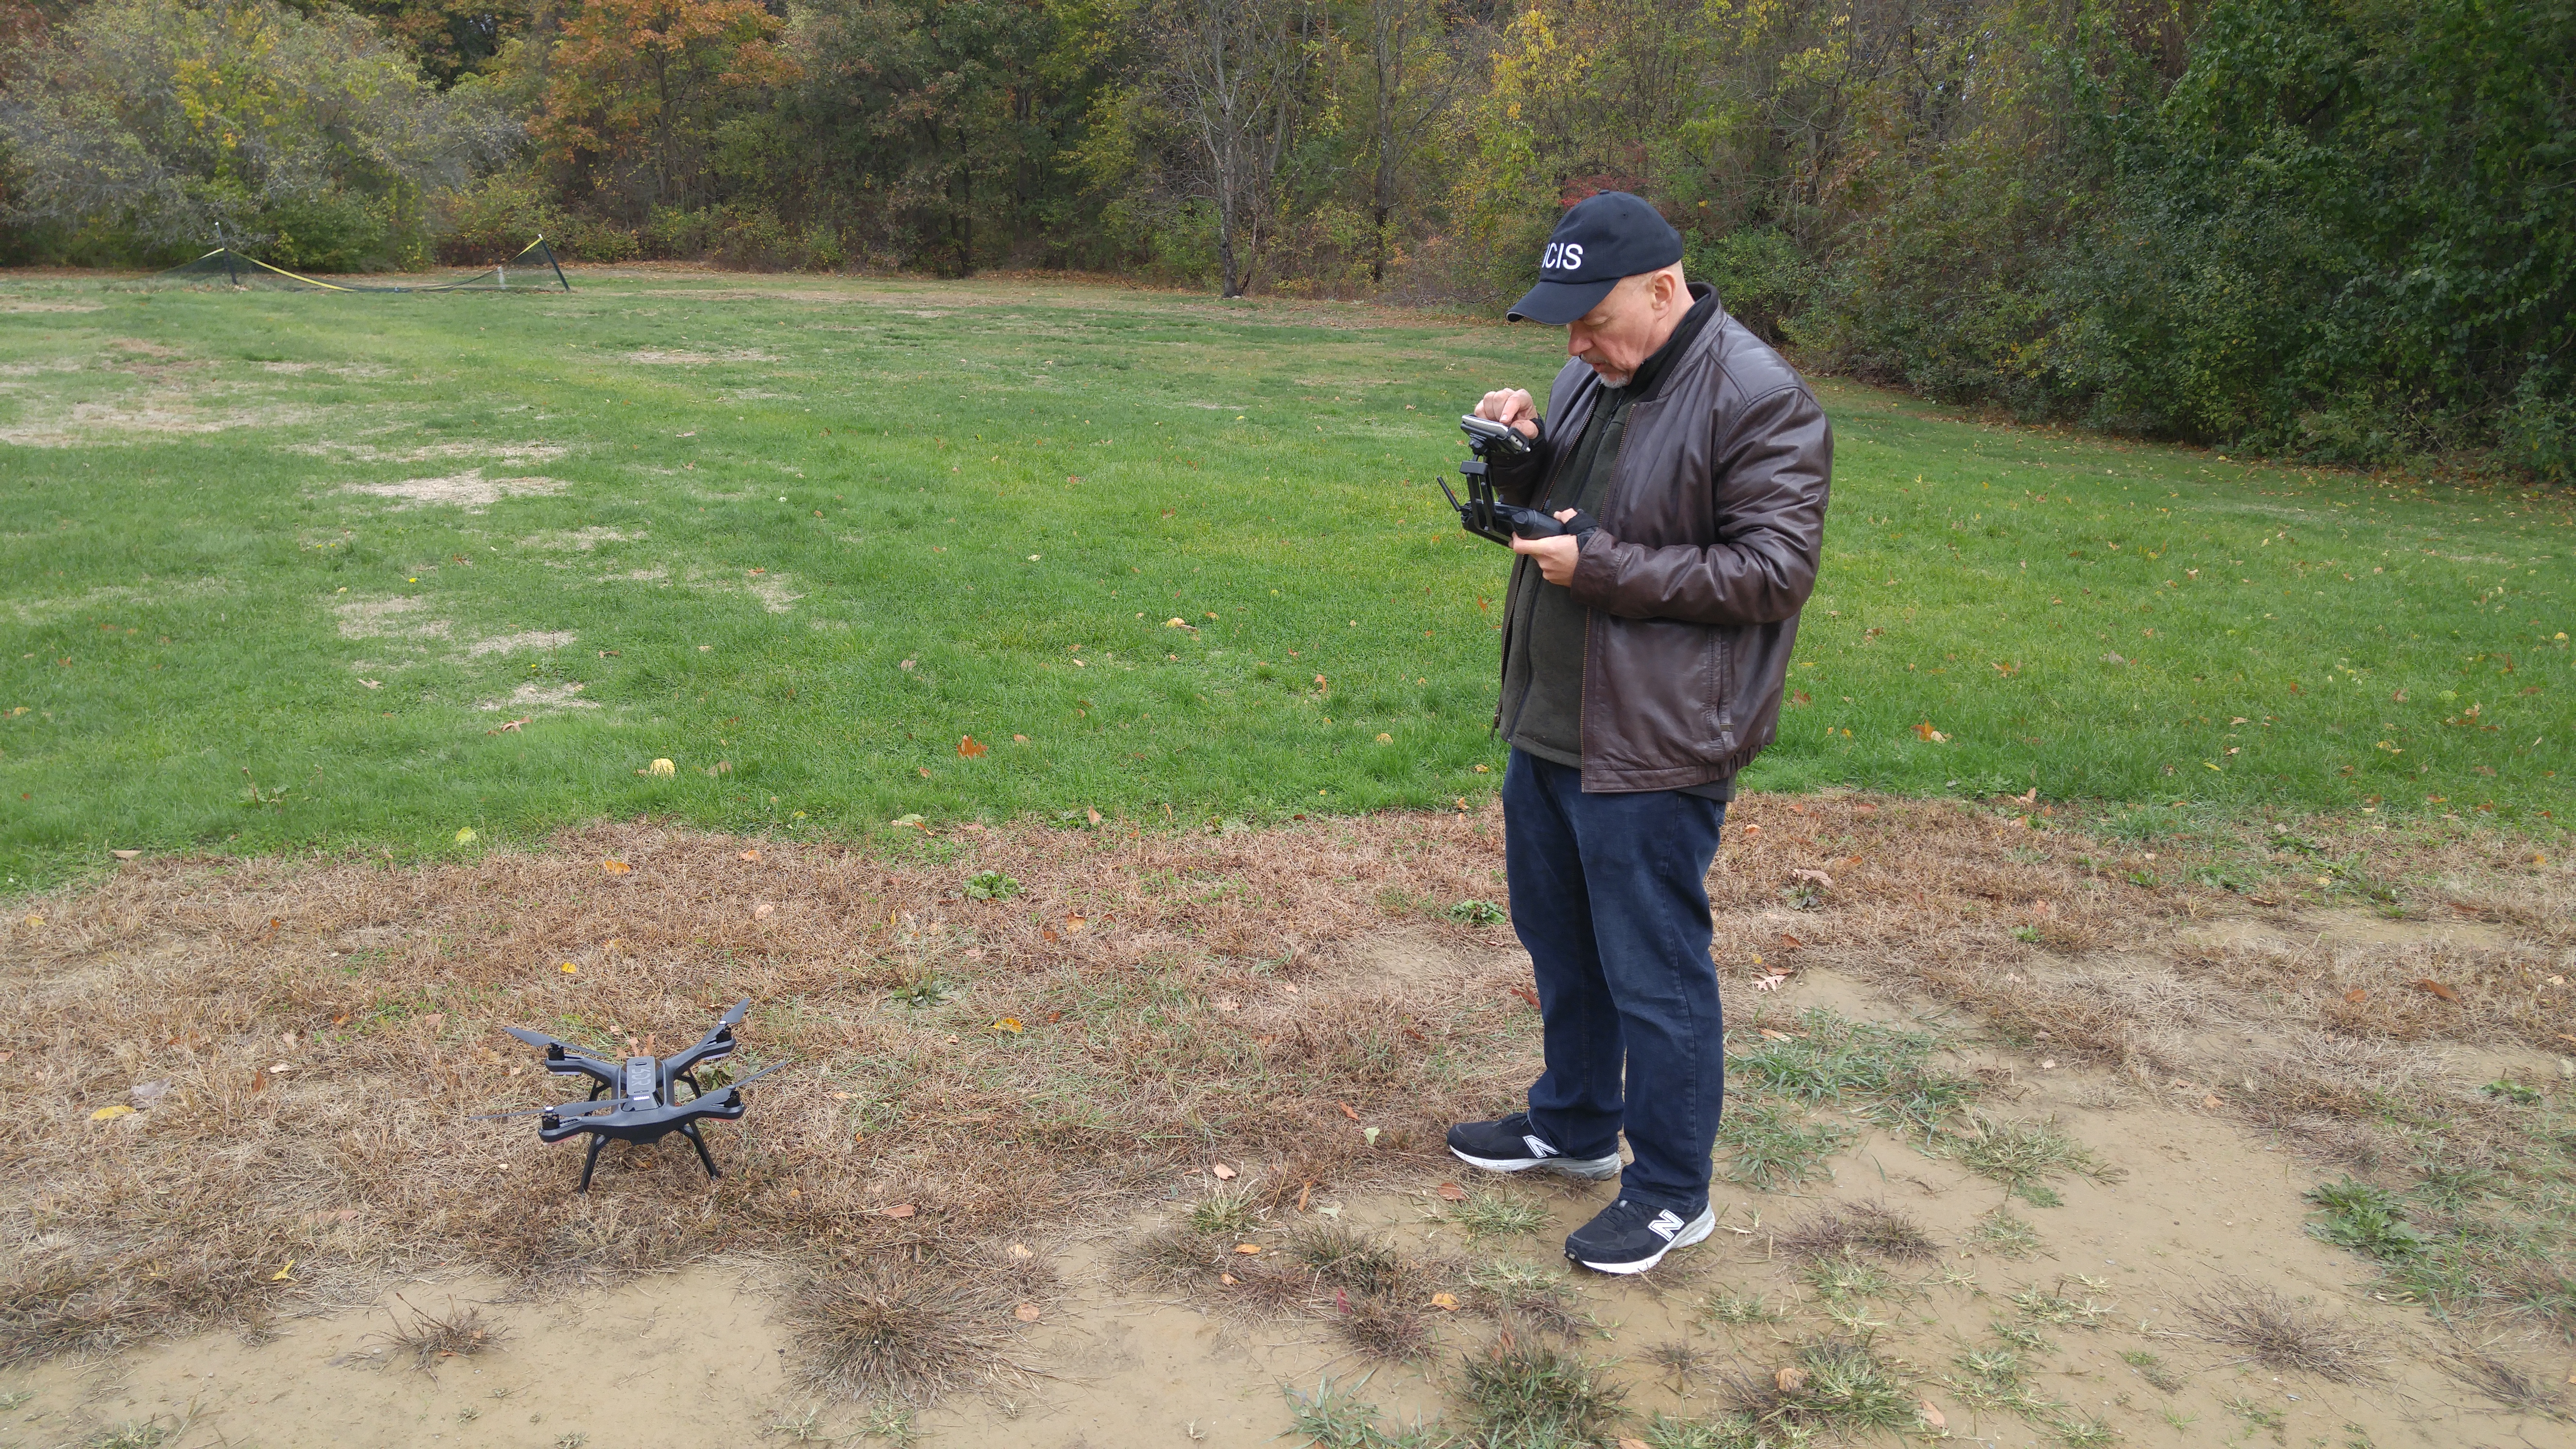
I had a lot of fun flying the 3DR Solo in the last couple of weeks, but after a while you just want to DO something. Until I develop my “copilot” add on board to activate some cool add ons and sensors, photography is the obvious thing, and my bundle even came with the stabilization gimbal. I was planning on buying a “fauxpro” from MCM electronics but found out the gimbal is really “locked” in to Genuine GoPro ™. I could probably hack it, but the biggest advantage of using a real GoPro is the expansion connector on the back allows you to start and stop video, take pics etc. from the remote. So I gritted my teeth and plunked down $250 at Costco.com on a GoPro Hero4 bundle that included an extra battery and SD card.

Here’s my first flight video:

I’m very pleased with the video (shot at 1080p and 60 fps) though obviously, my control and shot planning skills need some work.

Shortly after this, I crashed and trashed 4 propellers (ouch$). I was running it on “cable cam” where you fly to different positions, record them and then you can run the quadcopter between those positions like it was on a cable. When I ran it to the end of the “Cable” it ended up being about 5 feet higher than when it started, got tangled in some wires, and crashed upside down. It sat there and ground the propellers to dust, as I didn’t know how to turn off the motors until it detected the crash (maybe a minute later).

Lesson Learned: Don’t expect GPS to get you exactly to a spot (it’s only good +- 3 meters at best) and don’t fly in a confined airspace unless you are really good and manually controlling it!

Other Lesson Learned: RTFM, except there was no FM! Well, online there is, and a quick web search revealed holding down a and b buttons together will cause an emergency motor stop.

3DR Solo of my very own!

If you’ve followed this blog, you know I’ve played with toy quadcopters and built one from parts. I’ve also built an FPV racing drone that I’ve only successfully flown twice.

For a long time I’ve lusted after a GPS drone capable of autopilot, especially after a demo by a neighborhood friend of his DJI Phantom 3. I think the DJI drones are pretty cool, but I hate that they are not open, and being both an Open Hardware guy, and never satisfied with factory settings, I really wanted open source.

3D Robotics, founded by former Wired editor Chris Anderson has been making open source autopilot drones for quite a while now, but they’ve been quite pricey, and don’t include a camera. I just couldn’t justify it.

My friend Michael Castor at  http://www.mcmelectronics.com/ clued me in to a sale at Bestbuy and I scooped up a Solo, extra battery, gimbal, extra propellers, and a backpack for $399 (plus tax). SCORE!

Note, last time I checked, the price just went up to $599, but you can still get the Solo for $399

Free 2 day shipping said it would be here Thursday, but the Solo came on Wednesday, and the rest on Thursday.

solo box

It was well packed, comes with battery, two extra propellers, transmitter,  and chargers for the transmitter and the battery. It comes with an eggcrate material carrying case that would probably do for a while, but I hate to think what would happen when it rains.

The backpack, which came later (and I may cover in a future post) is terrific."carrying case"

DJI, by the way also gives you “carrying case” packing, but in their case close cell foam, which would probably hold up longer.

Solo unboxing

Setting it up was pretty easy, download the app to my phone, power everything up. There’s a required firmware update before flying, and while it crashed my phone a couple times (I am suspicious because I have CyanogenMod) it took only about 2 minutes.

I don’t have a camera yet (I’m waiting for a new model of “fauxpro” from mcm electronics.) but It was amazing that I actually managed to work all week without flying. A quick stop at the FAA site to register, print a label for my Solo, then I did get out on Saturday, and I’m hooked!

Kevin flying his new Solo
Photo by Will Caldico0tt

Auto take off and landing are the bomb! The orbit mode was pretty easy to use, once I figured out how to set the center on my tiny phone screen. I ordered an acer tablet from ebay (about $70) and hope that will be better.

3DR recommends initial flights in a wide open area, and I concur. While it’s really easy to fly, it’s also hard to judge depth at distance when it’s flying near trees etc. The next day, I did manage to crash it, breaking 2 propellers, and chipping a third. The Solo was fine though, and shut itself down with the remote talking to me “Crash detected”.

Hacking potential

I wouldn’t have even spent $400 (and will likely spend even more) if it wasn’t easy to add my own hardware and software mods. 3DR makes this really easy, with a well thought out Dev kit python API, and well documented hardware expansion. Check it all out at: https://dev.3dr.com/index.html

What makes this really exciting, is the Solo (in spite of the name) actually has Two processors, a pixhawk flight controller, and a linux based computer. You can actually ssh to the drone, and store scripts for execution during flight.

I’m excited that you can even use OpenCV on the video stream from the camera.

MacGuyver Copter Part 3: Success!

If you have been following along, in Part 1 and Part 2, I was trying to build a simple, cheap and easy quadcopter from spare parts. Well, the simplest methods failed, time to get out the laser!. Acrylic isn’t the best material for a quadcopter frame. It’s relatively heavy, and fairly brittle. but it’s  easy to cut in a laser cutter, which I happen to have, courtesy of Wyolum.com.

20150721_215248

Did it work? Well, it didn’t flip over, but started spinning a bit in place.  When I picked it up with the props going, some of the air was blowing up! I somehow got the ordering and placement of the motors wrong. I cracked open my original X5C (wow, that’s a lot of screws!)

I fixed the wiring, and then it flew! About 6 inches off the ground! I noticed that the props were rotating about 1/4 of a rotation over the body which means a lot of backwash, but the main problem is revealed when I weighed it.

The original Syma x5C with camera and battery weighsin at 97 g.

Version L1 of the MacGuyver Copter: 122g. Flew about 6 inches above the ground.

I created a new version with more or less rounded rectangle arms, and a circular central platform. I was worried because acrylic is rather brittle, and I wanted it to be strong.

20150722_174826-001

Version L2 of the MacGuyver copter weighed in at  106g. Flew relatively well, but inertia was killer on flips(lots of altitude loss), and battery runs down very quickly. After about 5 minutes, it was again hovering at 6 inches.

Although we think of plastic as light, acrylic is fairly heavy so I tried some plywood. All I had on hand was some 1/4 inch cheapo birch plywood from home depot.

20150722_180330


I forgot to record the wieght of this one (I think it was between 100 and 110 grams), but it worked quite well. The only problems were that my cutouts came a little close to the edge, and between the cheap plywood (voids) and those thin areas, one of the arms broke in a crash.

The final design simplified the cutout to be a triangle and weighs in at 84g, compared to the x5, without the camera or battery door at 88G. There are probably lighter, equally stiff materials, but this is pretty easy to do.

1-MacGuyverV3

Flys fantastic, at least to my feel It seems better than the stock version without the camera. Even though it’s less “aerodynamic, I think it handles better in a light breeze than the original, probably due to less surface area.

Here’s a (pretty bad) video of it’s flight. Trust me, it’s fun!

I also cut a frame out of 1/8 inch acrylic, but it was way too bendy, and wouldn’t take off. I think the props tended to thrust up, and bend it toward the middle, and the IMU (Inertial Management unit) couldn’t figure out a way to get enough power out to get it in the air.


MacGuyver Copter Part 2: Total Ghetto, Total Fail

Spoiler alert: in part 3, we finally succeed!

If you read the first post  you know that I was inspired by all the cheap replacement parts for the Syma X5. Also the motor mounts have all sorts of interesting attachment points, including a tube that fits a 3mm (who knew they were a standard size?) bamboo barbeque skewer. I’ve seen people bodge together quadcopters with “real” controllers but with crappy wooden frames, so I thought why not.

First I cut some skewers so the props were centered where they were in the original Syma X5. They were 9 inches center to center.

20150715_174605

I taped it all together, with the controller in the middle. I didn’t have much hope, as  you can see the fit on the motor mounts isn’t tight, and I was afraid they would twist. I taped them the best I could but as you can see in the video it was a total fail.20150715_223808

One problem I noticed, was that I had mounted the controller board upside down. Doh! The purpose of the controller is to keep it upright!

20150716_115519

Next I designed a 3D printed hub for the middle, secured with hot glue. I found some tiny screws (scavanged from many tear aparts!) and drove those through holes in the arms and through the bamboo skewers. This time it worked better but spun. I concluded that the bamboo was twisting with the motor torque. Probably true, but later I also discovered that I had the motors mounted in the wrong place.

Conclusions: I need a sturdier frame, but still need to keep the weight light (how light, well, I find out in part 3…)

Nano quads: is the Cheerson CX10A a good way to learn?

Continuing the quadcopter obsession, It’s hard not to run across the myriad of nano and mini quadcopters out there. They are cute, and offer the opportunity to fly indoors. My neighbor who flies a DJI Phantom 3 Pro said he learned on the Cheerson CX10. I ordered the upgraded version (CX10A) from BangGood in China, and while I was waiting, I saw them in action at Einsteins workshop in Burlington, MA at a robotics meetup. It looked really fun and their local quadcopter enthusiast made it look easy to fly, however other folks had a bit of difficulty.

Note, you can also buy it from Amazon for only a couple of dollars more and have it in two days!

Well, it arrived, and it certainly is cute!
Cheerson_in_hand

Battery Power

Being tiny (though not the smallest…) It has a very small battery, and it’s inside the case soldered to the board. While the sites advertise replacement batteries, it’s not an easy swap. You’s have to cut the connector off the new battery (Be careful!) and solder it to the board. It comes with a little USB plug charger that charges it in about 30 min. My flight times were initially longer, but now I get about 5-6 minutes without prop guards.

Prop Guards

Now, I was still a newbie (though I had some practice flying the Syma X5C) and I broke a lot of props (order plenty of spares!)
It doesn’t come with prop guards so I 3d printed some from designs on thingiverse, and later ordered an aftermarket propguard that was much lighter.

Aftermarket on the Left, 3D printed on the right

How does it fly?

Let me say this: It’s all about the thrust, and I’m afraid the tiny props just don’t provide a lot. Without propguards it flies reasonably well, though it’s not going to win any awards for turning quickly.  With the prop guards, it has significantly more inertia, and no more thrust, so it tends to be a bit more jerky. It falls faster, stops slower, and in general is hard to fly. Not a great thing for a beginner learning to fly. Also keep in mind, this thing is tiny, and you can easily loose track of it.

It also has an acrobatics mode, if you push down on the right joystick, and then push it in the direction you want it to flip, it will execute a nice flip for you. Don’t do this too near the ground (or other people…) as it’s likely to lose some altitude in recovering from the flip.

Range limitations (and a fix)

When I got better at flying it, and was taking it outside, I thought it was broken. It would stop turning in one direction, or just suddenly I’d lose control. I noticed that up close, I didn’t have these problems, but 20 feet away, yuck.

I’d seen some youtubes where people extracted the little wire antenna on other quadcopters and their controllers, so I cracked open the controller, drilled a little hole in the case and fed the wire antenna through, and now it behaves great! I can fly it at least a block away. Don’t bother cracking the copter itself open to do the same thing, as there is no wire antenna, it’s just built into the PCB.

CX10controllermod

Headless Mode

The CX10A differs from the original CX10 in that it has a “headless mode.” Normally when you fly a copter away from you (back of the craft toward you) Left is Left and Right is Right. If the copter is flying toward you, it’s reversed. If you push the stick left, the quad will go right, and vice versa. In more advanced quadcopters, a special “headless” mode is implemented with an electronic compass, that allows whatever direction you take off in to be the “normal” direction. now, no matter which way you fly, the quad will go Left when you push left, and Right when you push right. On the CX10A, they try to do this by keeping track of turning (it does have a gyroscope sensor) in software. It works….For a while, until it gets confused, and then you have to turn the copter off, and re-pair with the controller. Also, any bump or crash, makes it either go crazy (one or two motors on full speed) or just stop responding all together.

Conclusion

It’s a fun toy, and once you learn to hover relatively well, it’ fun to fly it from one person’s palm to the next. It’s a bit flakey when it crashes,  and is underpowered, so I really wouldn’t recommend it for learning to fly. A larger copter, (even a mini, like the Hubsan X4 or the Eachine H8 which I’ll review next) are more agile flyers. I don’t have any other Nano-copters to compare it with, but the bigger ones are easier to fly in general. The nano size can be more readily flown indoors (with even my poor flying ability!) but you should watch out for crashing and you are going to have to clean things like hairs out of the props it if lands in an untidy corner.

MacGuyver Copter Part 1

You see a ton of projects on the web where they stick some motors on some sticks, and viola! a quadcopter. Thing is, those motors and full featured flight controllers are expensive. I wanted to try to scratch build a quadcopter from super cheap spare parts from the Syma X5c.

New Version Syma X5C 2.4G 6 Axis GYRO HD Camera RC Quadcopter RTF RC Helicopter with 2.0MP Camera By E-Trade Deal
Syma X5 X5c Quadcopter Full Part Set 4*motors Propellers Landing Skid Protectors Motor Base


Getting Started with Quadcopters

Of course I’ve been interested in multirotor aircraft like quadcopters. I am a geek after all! All the things I read about were about advanced hobbyist or professional models, and the price was prohibitive. Then I went to the Northern Virginia Mini Maker Faire, and there were drones everywhere! There was a shop that was selling nano-quads, for $40, and NovaLabs had organized a flying contest using a Syma X5 4 Channel 2.4GHz RC Explorers Quad Copter that can be had for less than $40 on Amazon.

When I got home I ordered the X5C version which has a high def camera and comes in under $50.

It comes with a battery (you might want to buy extras), transmitter, a charger, extra blades, prop guards and even a micro-sd card for the camera. You’ll need to add AA batteries for the transmitter.

I’m really glad I dipped my toes this way, as I’ve learned a lot, and there IS a lot to learn! I’ve tried to fly RC planes in the past, and found it just too hard and frustrating. While I did crash the X5C (a lot!) it’s pretty unbreakable, and comes with lots of spare parts. Since hovering is the general idea, it’s usually not that far away (though you can fly it pretty far away from you!)

How does it work?

It’s also easier to fly because the onboard computer and IMU (Inertial Management Unit, a fancy name for Gyroscopes and Accelerometers) keep the unit level in flight. Here’s a little video to demonstrate this:

Flying

Getting started, it is a good idea to use the prop guards especially if you are flying indoors. This aircraft is extremely light, so flying it outdoors is really difficult if there is more than light wind, though once you get the hang of it you can fly it in a breeze.

There’s also a button that lets you make it do flips! Be careful not to do it too near the ground or any bystanders, and it works better with the camera removed.

Video

The camera is for capturing pictures and video, and you do not get to see it in real time (that’s called FPV or First Person Viewing, and is a lot more expensive!) You have to remove the micro-sd card and load it on your computer (they even include a USB micro-sd reader!)

The video is pretty good, though in flight, it’s got a lot of vibration. Here’s a sample:

I’m going to experiment with unscrewing the camera and affixing it with foam mounting tape to see if the vibrations can be reduced.

The camera is also easily removed, if you want more flight time or to do more acrobatics.

What it isn’t

This quad doesn’t fly itself. My neighbor  (Check out his awesome youtube channel on Card Tricks, The Card Cave ) Has a $1500 DJI Phantom 3 Pro. You can tell it to auto take off, return to home, and if you set it to hover somewhere, it stays there, even if the wind is blowing (there are limits, but it’s pretty amazing.) These kinds of copters are enabled with GPS and magnetometers (digital compass) so they can stick to a heading or position, and be programmed to move between them. The video is on a brushless motor gimble that keeps the video rock solid, even when the quad is being buffeted.  You can set these fancy copters into “Acro” mode and fly it just like the Syma X5C, but frankly I’d be scared to.

What it is good for

  • Learning to fly. I’m interested in FPV racing and the principles are the same.
  • Learning how to fix a quad copter (cheaply). Every part of this quad is available (either through amazon or one of the chines sites like banggood.com). My son crashed it hard, and it bent the propeller shaft. I ordered a new motor mount for about $2, and I was back in business.

I’m even thinking about getting a full set of spare parts (less the camera and body) and trying to scratch build a quad from them. Stay tuned.